Question from Jeremy H.
In the Drawing Academy video lessons 26 & 43 you cover drawing a tree which is great, however I am finding I am having difficulty getting a variety of different tree types to look correct as I see them in nature… or my trees kinda all look the same.
Painting trees is so much easier than drawing them! Help!
Maybe a video dedicated to the subject of a variety of tree types?
Dear Jeremy,
Many thanks you for tour question.
In nature you will hardly find two identical trees. Even the same tree from various sides may look very different.
In this article, I will give some suggestions and illustrations on how to draw trees.
I would recommend to draw from nature; this way, you will benefit the most. Drawing from photos is just copying.
Analyzing a tree’s shape
You may begin drawing a tree with observing and analyzing the tree in question. Check its proportions. Is it tall, bushy, old, has one two or more trunks, resembles an egg or cone, how dense branches and foliage are, and so on.
Every tree is a three-dimensional object with a volume, keep it in mind when you draw it.
Composing your tree drawing
The next step is to compose your drawing. With light pencil marks indicate the height and width of the tree. Make few strokes for the trunk and main brunches. Indicate outer edges of the foliage.
At this step, keep the pencil pressure light and do not go into details. Make sure you captured the tree’s character. Use eraser if required. Light pencil strokes are easy to correct.
Constructive drawing
When you are happy with the proportions and size of your tree sketch, you may continue with a constructive drawing. Constructive drawing in this case means linear sketch in perspective. Depict the character of the trunk by drawing its outlines and contours, sketch main branches and major masses of foliage.
At this step, ignore individual leaves, small branches and other minor details like a bark texture for example. Treat masses of foliage as unified objects, which have their own shapes and volumes.
You may also check how gaps between branches and foliage masses look and depict those holes as well.
Fine-tune the tree’s silhouette.
Define main lights and shades
With all major constructive elements drawn, it is time to analyze and depict a three-dimensional nature of the tree by rendering tonal values. Check where light is coming from. Is it coming straight from above, left or right, does it give strong contrast or diffused?
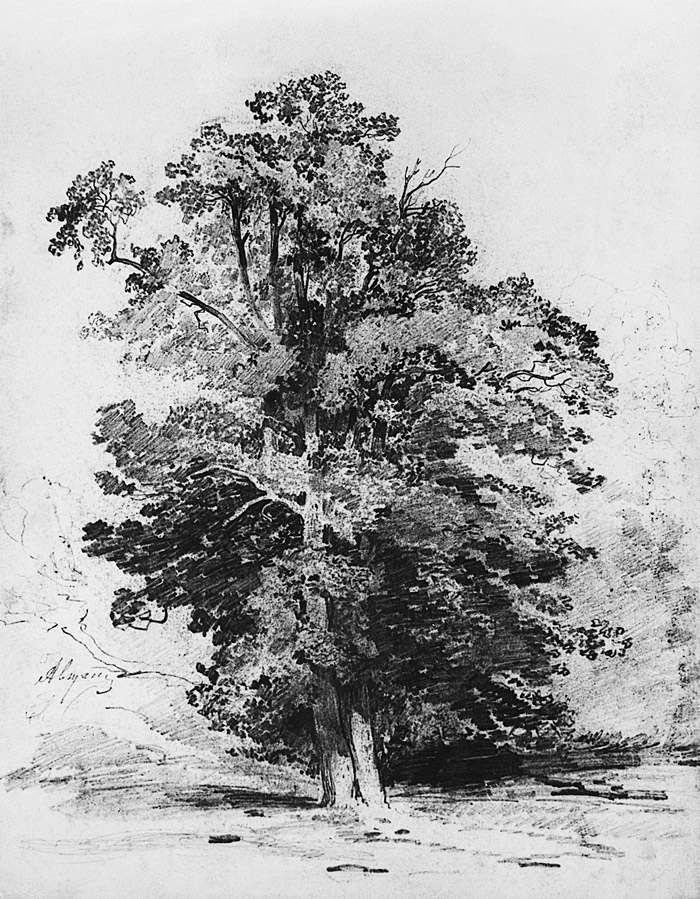
Render main shades starting from the darkest areas. Unify the volume as if it is one piece rather than tens of thousands of individual leaves. The rendering technique can range from long lines to short pencil strokes or even dots. Such texture will give the wide gamut of strokes and portray tree’s foliage in more artistic way.
In most cases a tree will have cast shadows under foliage groups. Such shadows often create an interesting rhythm. Depict this rhythm as well.
When shading tree’s trunk, go along the trunk’s contours and texture.
Don’t forget about about the environment around. Depict a cast shadow under the tree, grass or ground and give some indication of the background. This way you will make the setting more believable rather than having a ‘cut-out’.
When rendering shades you have the full artistic license to selectively depict in higher contrast and stronger strokes what you want to focus a viewer’s attention on. Leave other areas less rendered thus creating an atmospheric perspective. Such less rendered areas may include branches and leaves that are further away from a viewer, secondary detail on a background and so on.
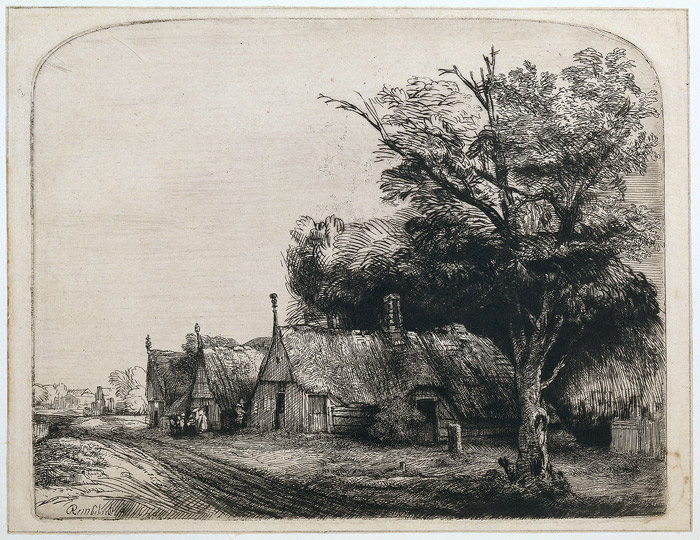
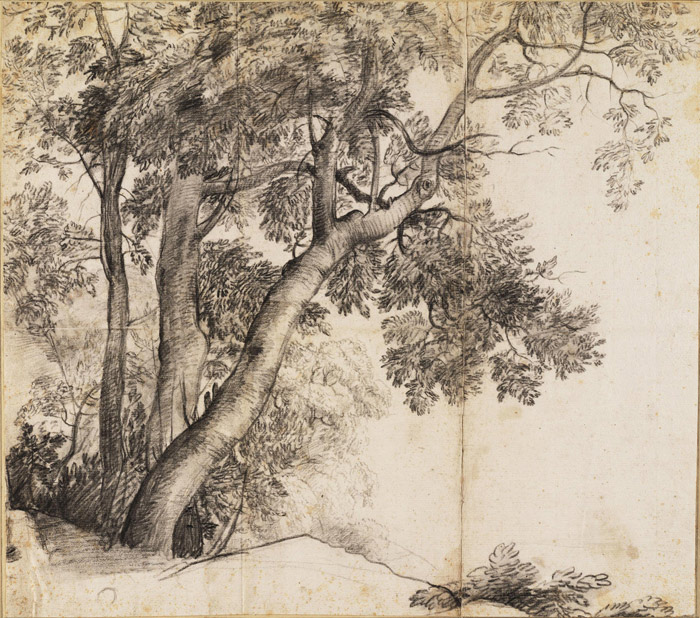
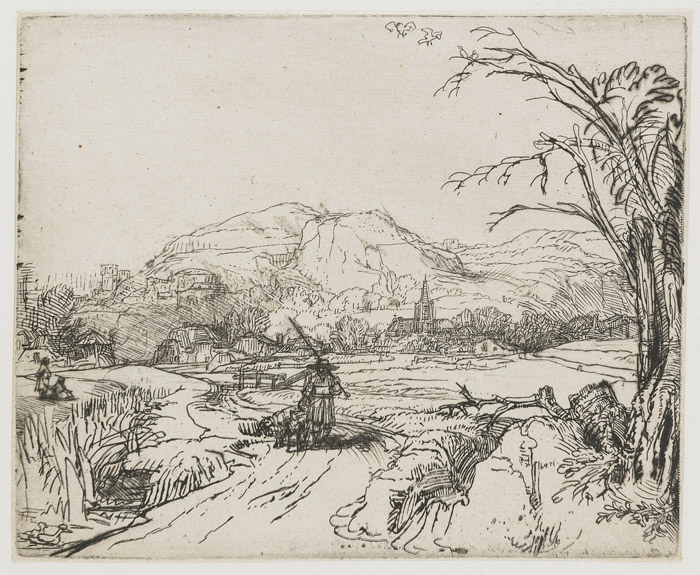
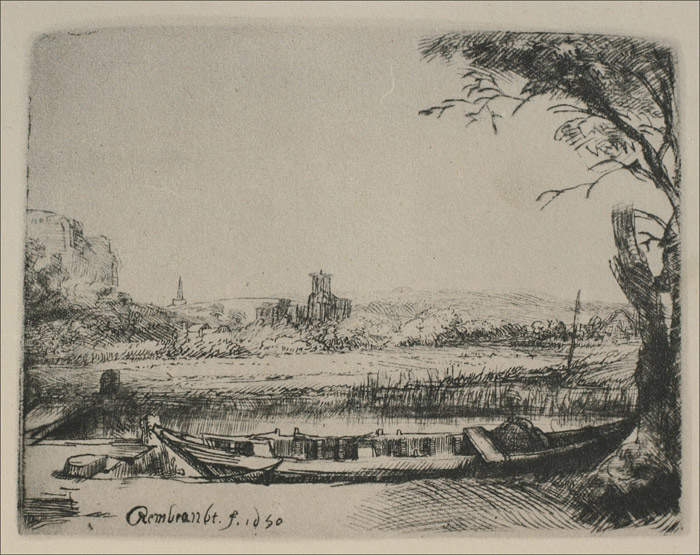
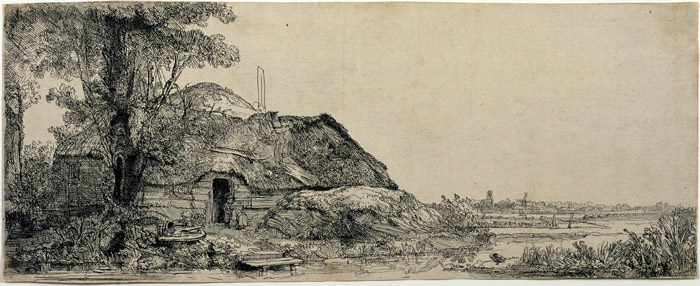
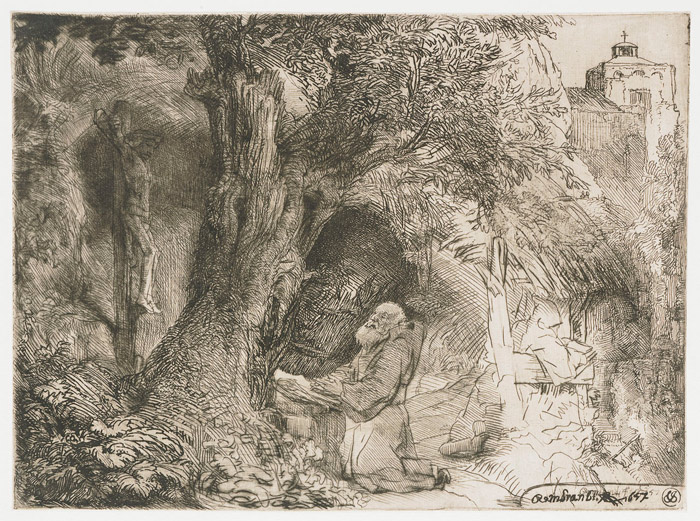
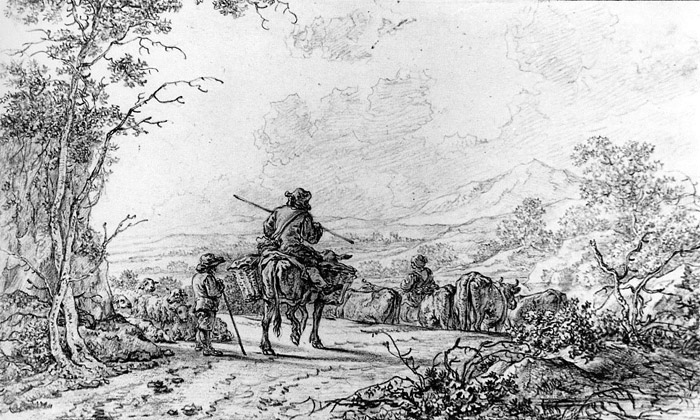
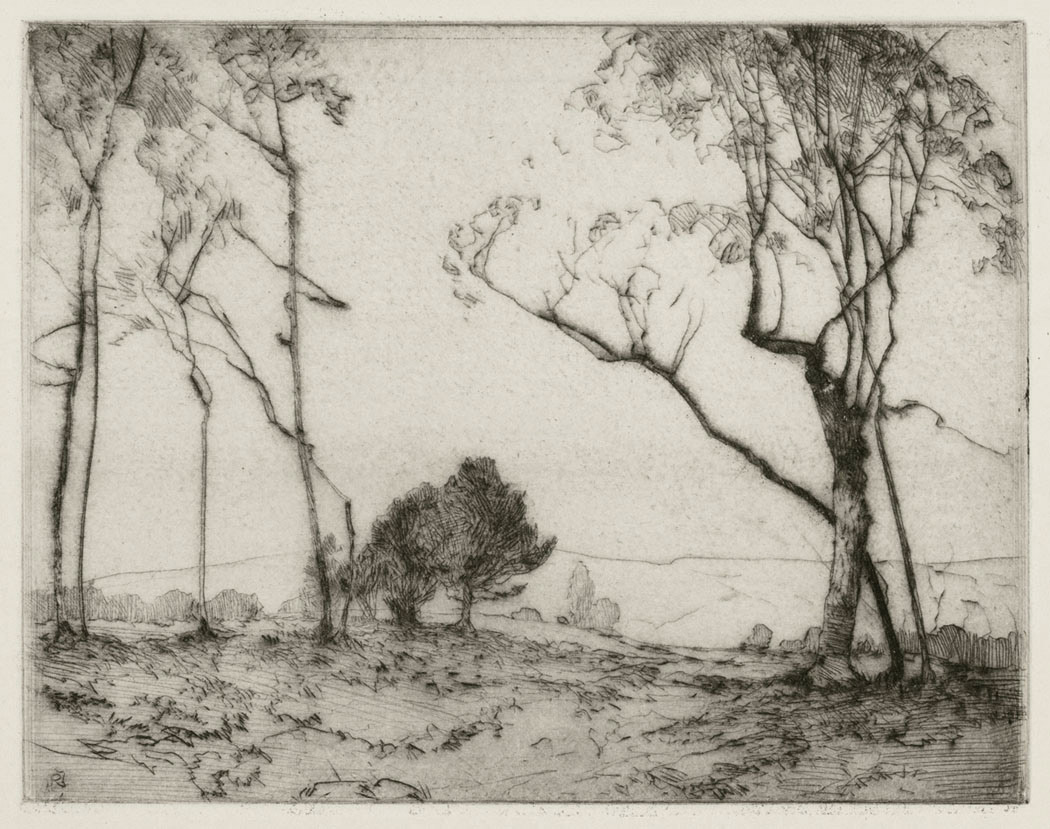
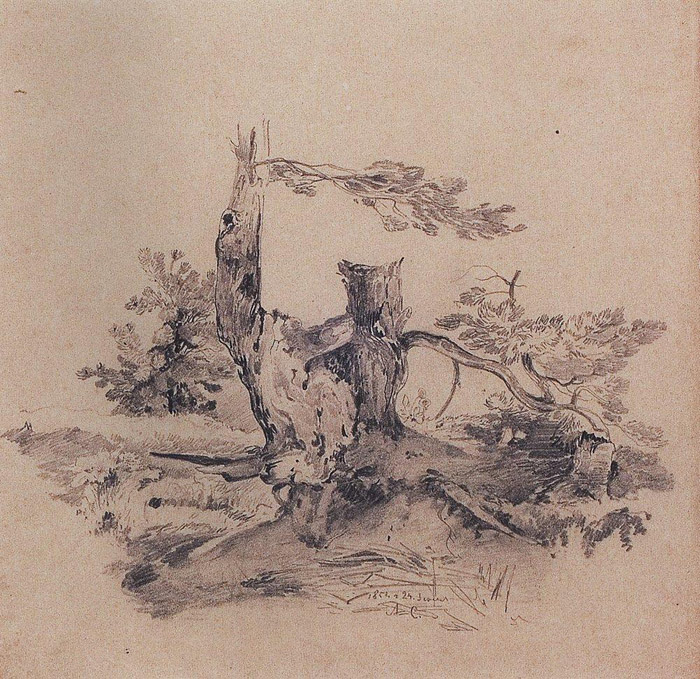
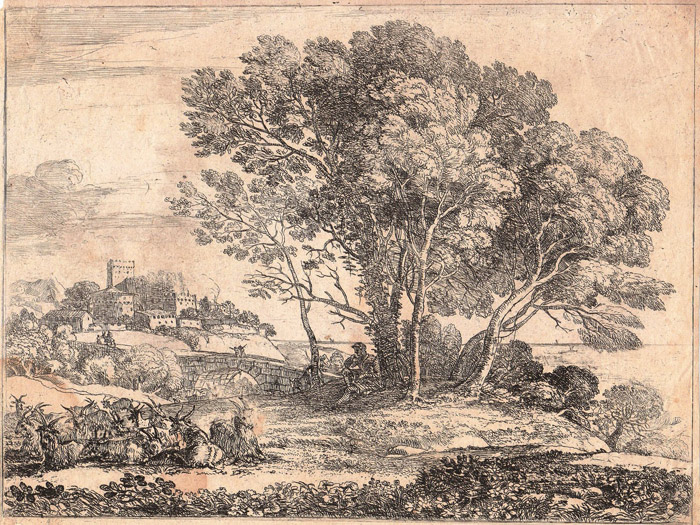
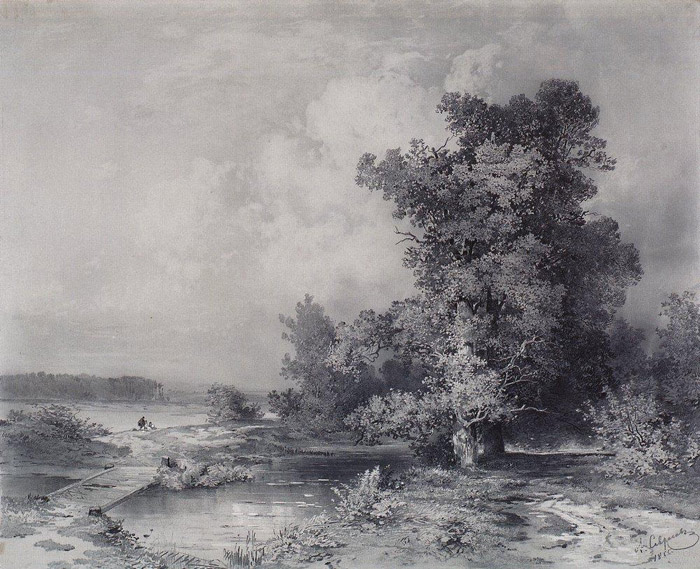
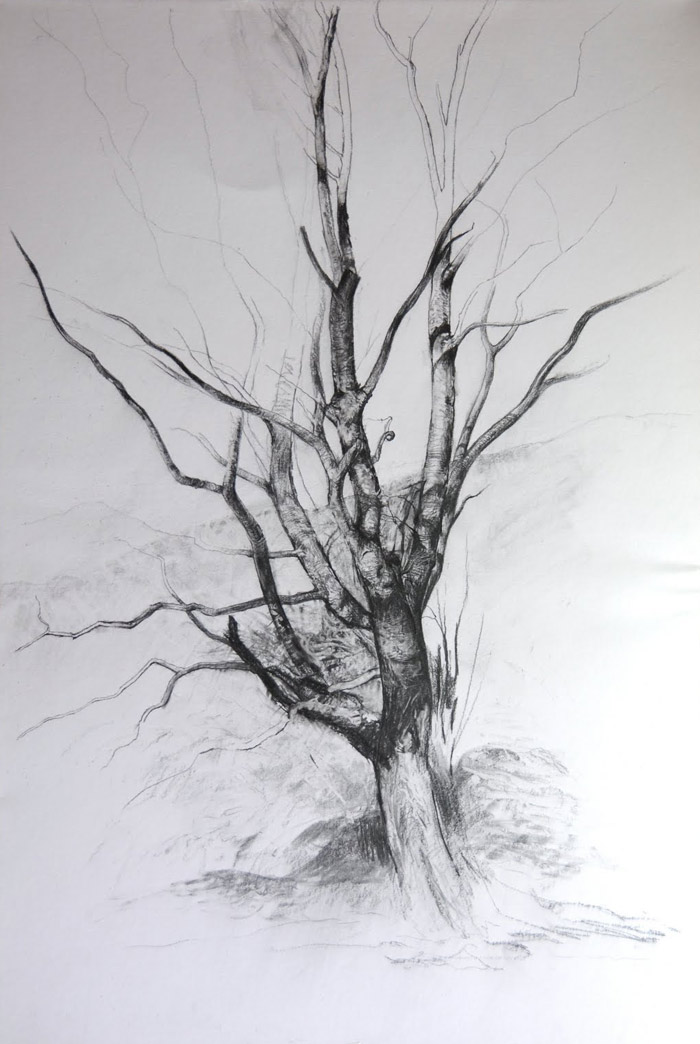
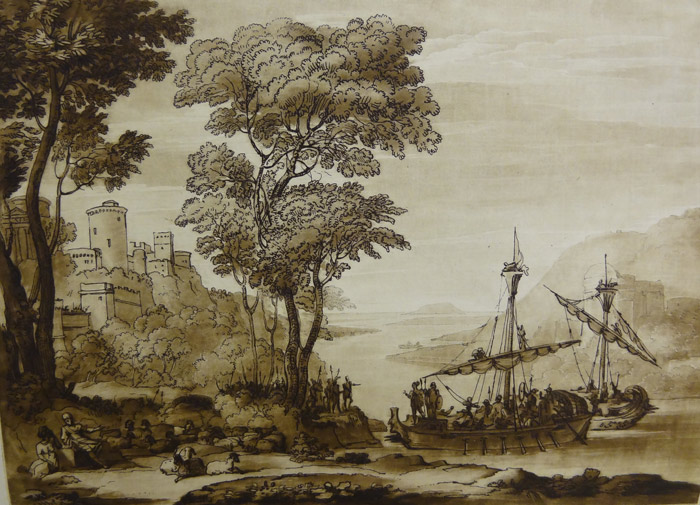
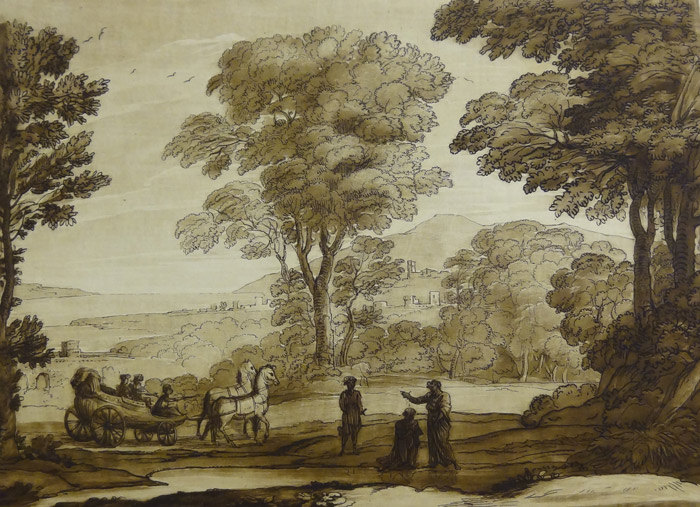
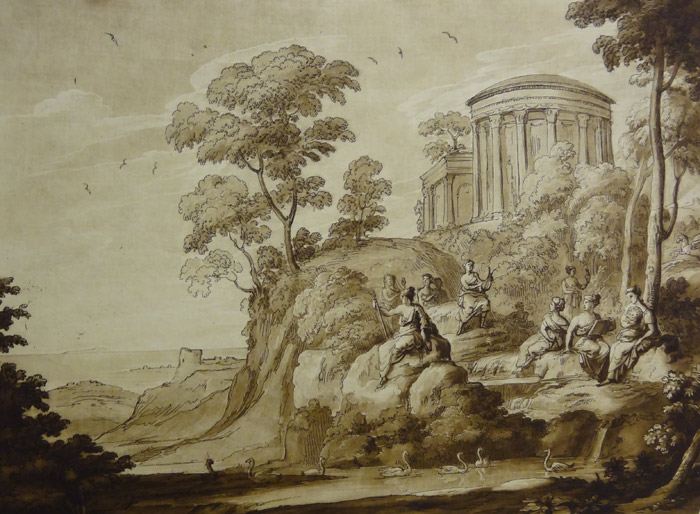
Below I presented some good examples of trees drawings.
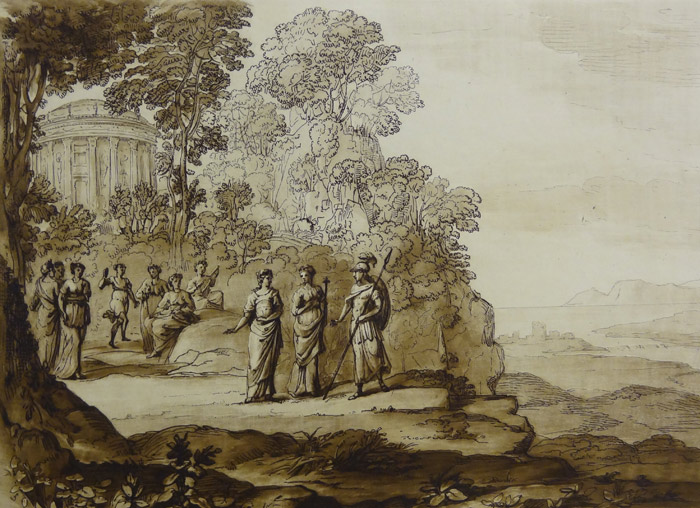
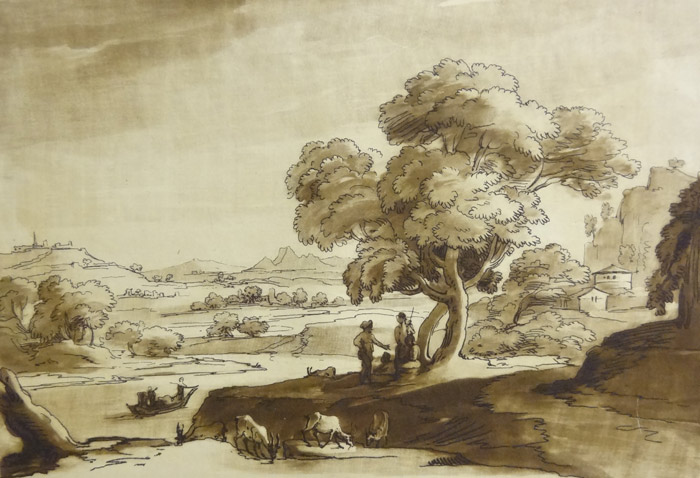
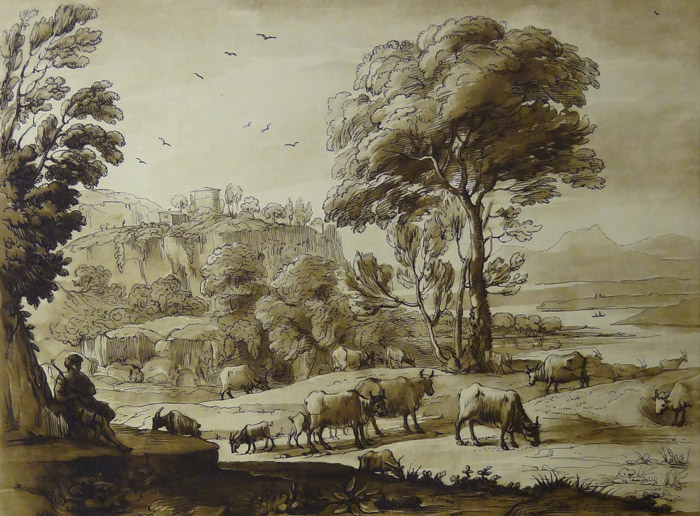
Kind regards,
Vladimir London
Drawing Academy tutor
Enroll in the Drawing Academy Course
Pay once - Enjoy forever!
Only $297


The last drawings shown are by the great Claude Lorrain.