Drawing a Portrait – Classical Shade Rendering Techniques
In this video part of drawing as portrait lesson you will discover how to render shades in graphite pencil skilfully using traditional hatching techniques.
Enroll in the Drawing Academy Course
Pay once - Enjoy forever!
Only $297
Drawing a Portrait
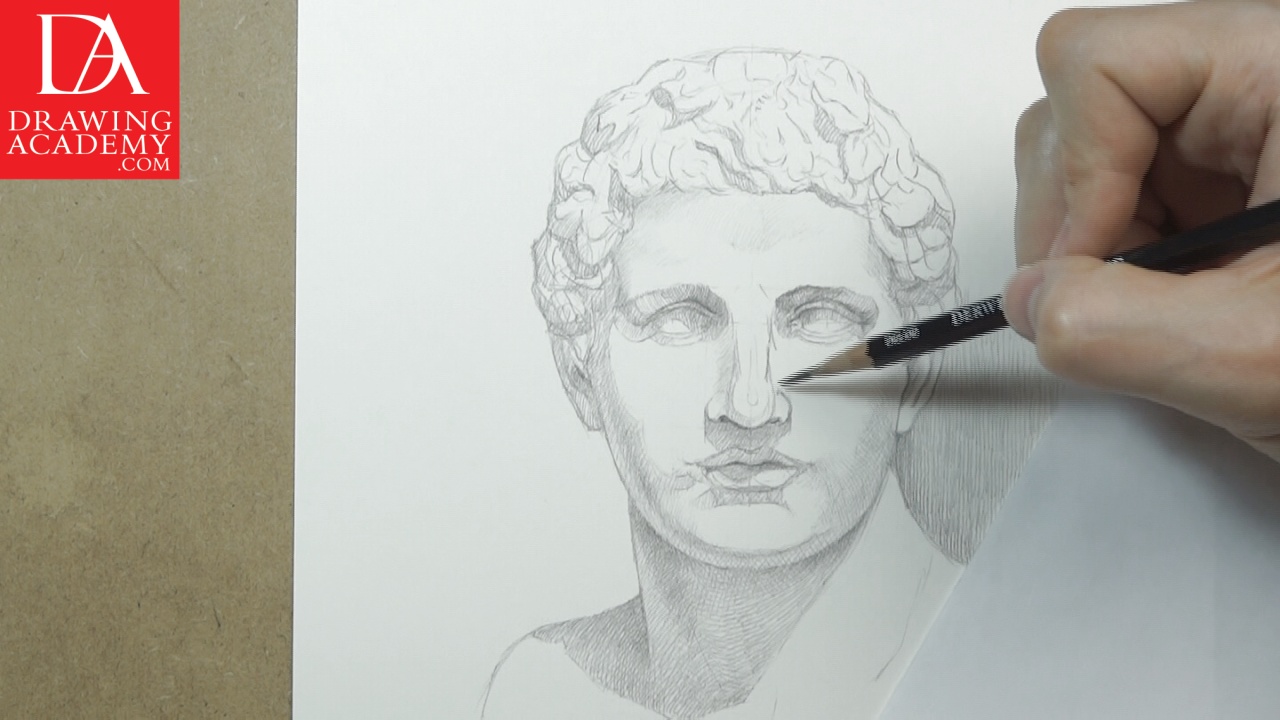
So far, we concentrated on drawing the head’s outlines and contours. To reveal the model’s three-dimensional nature, it is time to render tonal values of the Meleager’s head.
The bust is made of white marble and we need to remember that to keep the shadows reasonably light.
Tonal values rendering will be done in several layers of pencil hatching. That is why in the beginning, I intentionally do lighter shades than intended.
Also, I do not concentrate on a single spot of the drawing for too long. Instead, I go from one part of the portrait to another in quick successions.
A well-sharpened HB pencil is used for rendering. I will be using the same pencil grade for most of the drawing, only applying softer grades when my HB runs out of the required depth.
Working in one pencil grade is a very good practice technique, especially for a beginner. In this way, fine art students can train their hands and be able to produce the necessary results with a limited range of drawing media.
Relying on one grade for the most of the drawing will prepare them for other drawing media like, colored pencils or drawing chalks.
Some of virtual lines that were so helpful in our constructive drawing can be erased before proceeding to tonal values rendering. The kneaded soft eraser is perfect for this task. It doesn’t leave any rubber debris on the paper surface.
When shading in graphite pencil, it is quite important to keep your pencil sharp. Small scale drawing requires small delicate lines, which is provided by a long and sharp graphite lead.
Some artists pre-sharpen several same grade pencils and then use them one by one before re-sharpening the whole lot once again. You may employ such approach, as well. Alternatively you can re-sharpen the same pencil every time as needed. This is the way I am working. It is good to have short breaks more often, so your eyes get some rest from the drawing and you can assess the work you’ve done by that time, more regularly.
I am rendering shades with light pencil pressure. Tonal values will be built up gradually – in several layers of graphite hatching.
The correct way to render tonal values is to progress with shading in such a way that at any given moment, the artwork would look complete.
For example, if I stop drawing this portrait right now, the artwork will look complete even though it is not finished.
Classical marble or alabaster busts and sculptures are always stylized and sometimes simplified representations of the human heads. You will not find a sculpture where every hair and skin pore is carved or casted. Such sculptures also come in a single color, white or off-white (in the case of marble), or patina finish for bronze sculptures. That makes them easier to draw; not to mention that a sculpture, unlike a human, will hold the pose indefinitely. Take advantage of this and use sculptures of antique heads for longer drawings.
Drawing from sculptures and busts is very beneficial – especially for beginners. It allows them to learn the construction of the head and achieve greater accuracy. In addition, when drawing from antique sculptures, students discover classical ideals and proportions, which were developed and presented by the great sculptors of the past.
When rendering shades and mid-tones, I’m constantly comparing their values between each other. It is a good practice not to concentrate on a single area of the drawing for a long time. The whole drawing should be developed simultaneously. When one part of the portrait is becoming darker, you need to move to other parts and render their shades so the overall tonality of the drawing remains balanced.
The human head is quite a complicated object to draw. There are many big and small masses and forms, and each has its own tonal values. To keep the tonal values of various planes and forms under control, you need to remember a simple fact which is: the head is a three-dimensional object, which can be represented as one big mass. This mass has three main areas – the light, the mid-tones and the shadows. This mass also casts shadows on itself and on other objects around it.
Compare mentally this marble head to a big white ball. The ball has a light area, which gradually goes to mid-tones and mid-tones change by shadows in places turned away from the light source. This simple approach will help you to keep all complexity of the tonal nuances unified.
Here is a good info on tones every proficient fine artist must know. Each of the three main areas of light, mid-tones and shadows can be subdivided into three sub-areas of tonal values. For example, the light areas have progression from the Highlight to Light and then to the Local Light.
The Highlight is the lightest tonal value on the drawing, represented by white paper. The Light is like a halo surrounding the highlights. And in turn, the Local Light’s areas are slightly darker than Light.
Mid-tones can be subdivided into Light Halftones, Middle Halftones and Dark Halftones in order from lighter to darker succession.
Dark areas are also can be seen as a combination of three tonal values: Form Shadow, Core Shadow and Dark Shadow.


