Discover How to Sketch in Ink
In this video lesson you will discover How to Sketch in Ink.
Enroll in the Drawing Academy Course
Pay once - Enjoy forever!
Only $297
Sketching a Cube in Black Ink
We will do another “How to Sketch in Ink” exercise, this time rendering shades of a cube in black ink.
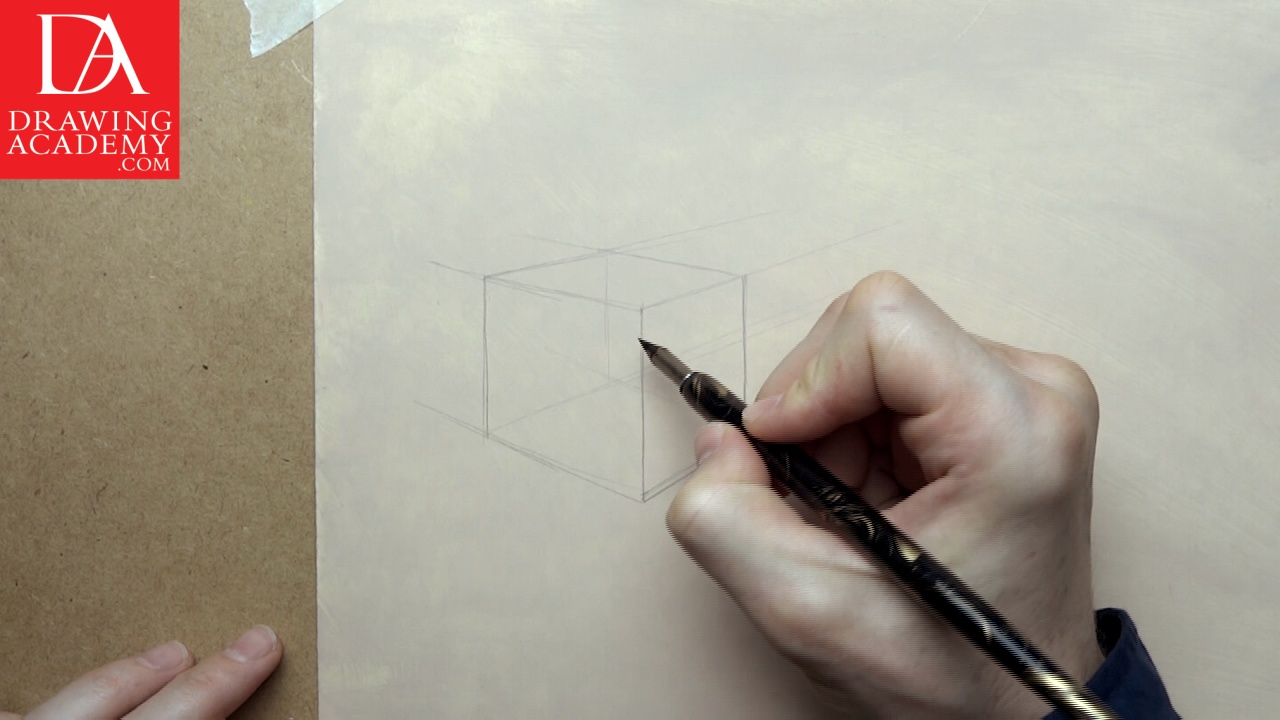
When it comes to the first steps of “How to Sketch in Ink” task, I mark with a graphite pencil, the outlines of a cube standing on the flat surface of a tabletop. Two-point linear perspective is used for this task. For more information on what two-point perspective is and how it can be used in drawing, you can refer to the Drawing Art Academy video lesson describing this subject in details.

When you think how to sketch in ink and what paper to use, a toned paper can used for this artwork. The ground is Vandyke brown and titanium white pigments mixed with rabbit skin glue. The paper has only one very thin coat, which has a semi-opaque appearance. I want to test how Black Indian Liquid Ink will behave on this ground. On a toned support it is possible to make highlights in white wash. However, for the purpose of our black ink rendering task, we will keep it for later.
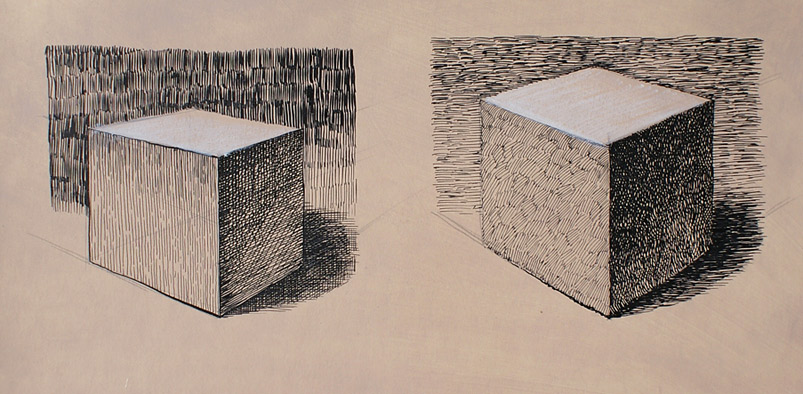
I render the front left plane of the cube in vertical, dashed lines. The gaps between the dashes are small and random. Line thickness is quite thin, and the distance between lines is uniform. Such a rendering method gives a flat look to this surface and adds a good rendering technique to your “how to sketch in ink” portfolio.

I will use a very similar hatching method for the right front plane of the cube. However, this time the direction of lines is in perspective. When you think how to sketch in ink, remember that you can shade along perspective lines a swell.
My pen pressure is increased ever so slightly and distance between lines is decreased. This results in the denser, thicker lines, which form a bit darker tone on this plane. I am also trying to keep every line in the perspective, so it’s pointing to the vanishing point on the right hand side of the drawing.
The source of light is placed in the classic top-left corner position. Therefore, the right plane of the cube is darker than usually achieved in a one hatching layer. To increase its tonal value, I will do cross-hatching by placing lines in the vertical direction. Considering how to sketch in ink by using vertical lines, this video lesson will give you a good presentation on this topic.
When thinking how to sketch in ink like the Old Masters, you can go for another hatching method, which starts with a long vertical stroke, then a small gap followed by a shorter dash, then the dashes become even smaller and finally the line ends up with a dot. This is a hatching technique I have seen in an Albrecht Dürer etching and I find it very suitable for this case.
When considering how to sketch in ink flat surfaces, like the cast shadow on the tabletop for example, it can be hatched in horizontal lines. The cast shadow is darker than form shadow; therefore, I will do cross-hatching to deepen its value.
Thinking how to sketch in ink, observe the light and shade tonal values on the model. The top areas of the vertical planes of the cube have less reflected light than the bottom part of these planes. I am darkening up the tonal value of the top parts. For this purpose, vertical strokes are used on the left vertical plane and diagonal lines on the right plane. The top part of the right plane has the core shadow that gradually fades into the form shadow.
The core shadow of the cube’s right plane is much darker than the tone of the left plane. To render this shade, I am applying more pressure on the pen so the lines are thicker.
If you want to perfect you “how to sketch in ink” knowledge and experience, keep practising sketching in black ink, results will follow.


