How to Hold a Pencil; Drawing Boards and Easels; Pencil Hatching Techniques
In this video lesson you will discover how to arrange your working space and what drawing boards to go for. Also, his video will explain how to hold a pencil correctly, and various pencil hatching techniques when rendering shades.
Enroll in the Drawing Academy Course
Pay once - Enjoy forever!
Only $297
How to hold a pencil
Did you know that the quality of your lines is very much depends on the way you hold a pencil? This topic is not taught in the contemporary art colleges and universities in depth so do not miss the opportunity to discover what are the correct ways of holding a pencil for professional drawing.
There are different grips can be employed depending on horizontal or vertical position of the drawing board as well as on the scale and precision of artwork. Long straight and curved lines are better done with a pencil grip that is different to one that is used for shorter and more precise lines. Check this video to get familiar with those pencil grips and use them to your advantage.
Arranging a working space for drawing
A good drawing board is essential for your drawing environment. It has to be big enough, have a flat, smooth, solid surface and be able to hold its position at the required angle. Another solution is to go for something more advanced like a drawing easel, for example. Just keep in mind that if you want to become a proficient fine artist, a flat, horizontal surface (such as your desk) is not ideal for developing your drawing skills.
This video will show you various solution of arranging your drawing space that fit every budget.
Pencil hatching methods
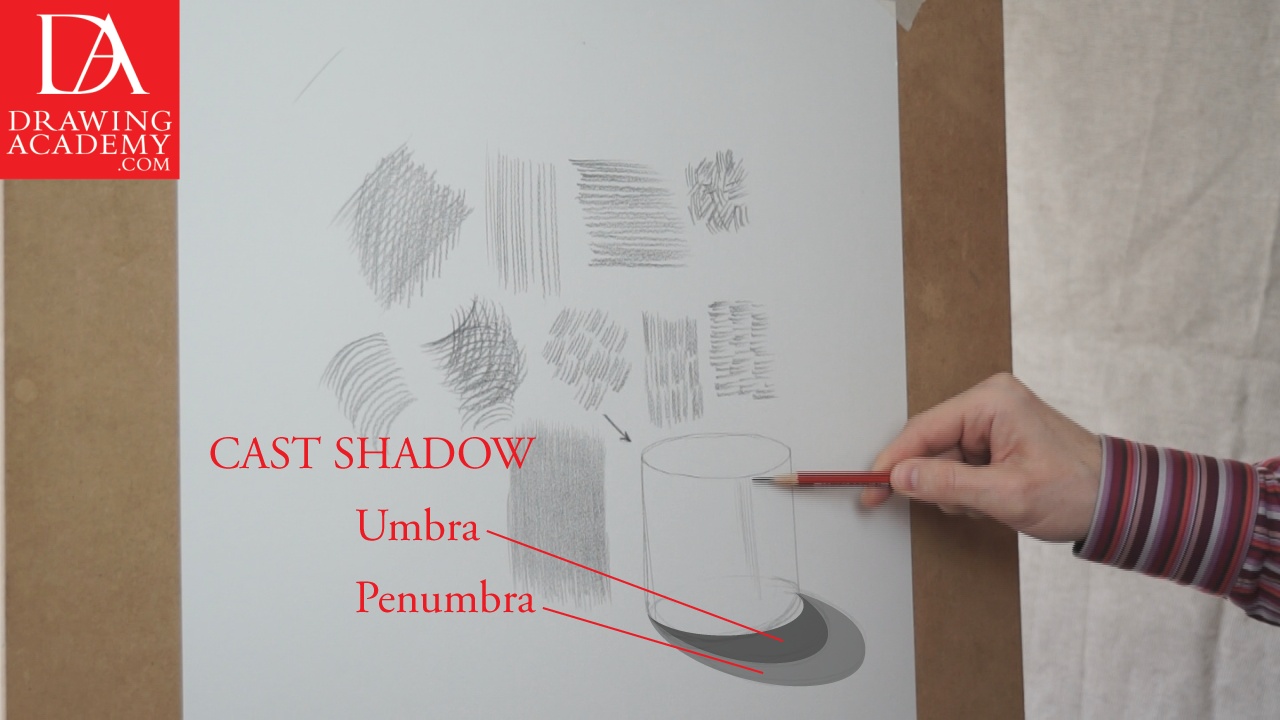
In this video lesson you will discover various pencil hatching methods every proficient fine artist must know and use to achieve great results. The gamut of hatching strokes is very important element of a skilfully done artwork. I will show you what classical hatching methods are and explain how to render shades using those techniques.

In the Drawing Academy lessons, you will discover a great variety of hatching methods I will be using. This will cover not only graphite pencil hatching but also coloured pencils, charcoal and ink drawings.
The direction of pencil hatching should go along the object’s contours. The contour is a virtual line, which follows the shape of the object’s surface and can be represented as a line of a cross-section, as if an object has been sliced in any particular direction. So, just to illustrate what I have just said, if you mentally cut this cylinder in half with a big knife, the edge of this cut is the contour. An object can have an infinite number of contours.
Do not confuse this term with an outline. The outlines of this cylinder are visible lines – the top oval, two vertical sides of the body and the lower oval edge.


