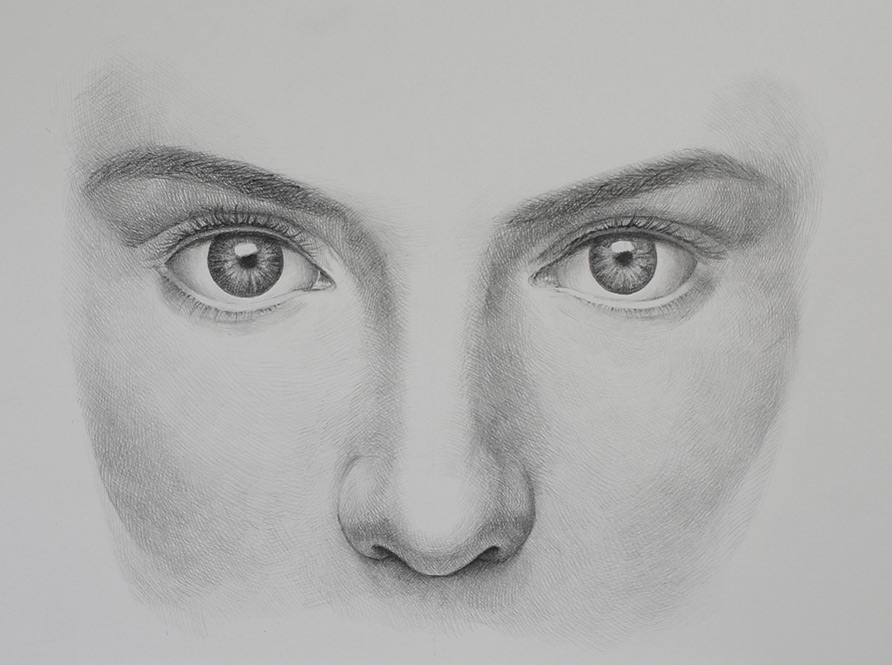
How to Draw Eyes – Constructive Drawing
In this video lesson, you will discover how to draw eyes in a realistic manner. This is how the finished drawing will look. It is done in graphite pencil on white drawing paper.
Enroll in the Drawing Academy Course
Pay once - Enjoy forever!
Only $297
How to Draw Eyes – First Steps
When it comes to “how to draw eyes” topic, it is important to define a horizontal line – the eyes’ axis. The outer and inner corners of both eyes will be located on this line. The distance between eyes is equal to the length of the eye.
When you think how to draw eyes, keep in mind that the curvature of the upper and lower eyelids is not symmetrical. The upper eyelid’s curve has the top point at 1/3 distance from the inner edge of the eye. The lower eyelid has the bottom point at 1/3 distance from the outer edge of the eye. You need to avoid the common mistake of making eyelids equally curved. Such drawings instantly look amateurish.
Thinking of how to draw eyes, remember that the eye’s pupils can change their size. In fact, they act as a diaphragm in optical equipment. A wider eye pupil allows more light to get inside of the eye; for example, in dark conditions; while a smaller pupil lets less light inside the eye; for example, in brightly lit areas.

The upper eyelid usually covers the eye’s iris slightly more than the lower eyelid. Sometimes, it can be a small gap between the lower eyelid and the iris. This depends on individual anatomical features and how wide the eyes are open.
The iris is perfectly round in this drawing because we have a very straight, full-face look.
Considering how to draw eyes, keep in mind that the eyelids are three-dimensional objects that go around the eyeball. They also have a thickness, which needs to be depicted for the drawing to look realistic.

According to classic proportions of the “how to draw eyes” topic, the width of the nose wings is equal to the distance between the eyes. I mark two vertical lines from the inner corners of both eyes to determine the nose width.
To make a realistic looking drawing of the nose, you need to understand its anatomical geometry and shape.
Its three-dimensional construction is explained in the Drawing Academy video lessons, which explain how to draw human face features as well as face anatomy.
The shape of the nose very much depends on an individual’s characteristics and proportions can vary. In this example, I am presenting the classic proportions developed by the ancient artists of Rome and Greek civilization and further refined by the Renaissance and the Old Masters in Europe.


