Discover How to Draw a Model
In this video lesson, you will discover How to Draw a Model by watching the process of creation of a realistic life model drawing.
Enroll in the Drawing Academy Course
Pay once - Enjoy forever!
Only $297
How to Draw a Model – Preliminary Sketch
I start this “How to Draw a Model” video lesson by making several fast sketches of the model.
Learning How to Draw a Model by making five-minute sketches is a great way to practice drawing skills. The time limit makes the fine artist concentrate on the main masses of the model’s figure, without paying much attention to small details.
It is also trains the eyes to compare proportions and angles, so the how to draw people task becomes less challenging.
Such quick sketches are usually done in a few laconic lines. I am using A2 sized paper, which is 16.5 by 23.4 inches. The final artwork will be at least twice the size smaller.
Watercolor Paper Toning for the “How to Draw a Model” Lesson
Heavy duty drawing paper will be used for the final artwork. I want a very specific tone for the paper background and therefore, will prepare it myself. Of course, you can buy ready made colored paper in any art supply store if you’d prefer to skip the toning exercise.
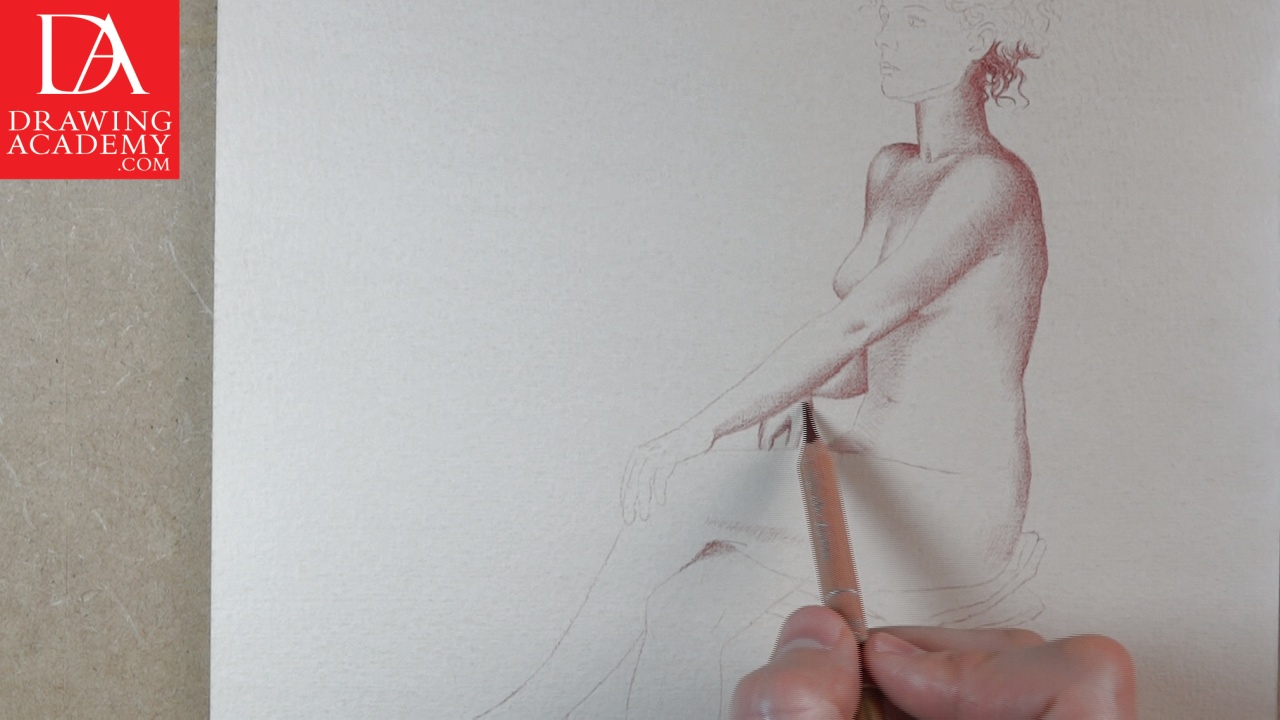
How to Draw a Model – Red Pencil Drawing
In multiple Drawing Academy video lessons on how to draw people subject, I have demonstrated step-by-step process of drawing models.
The pencil I have chosen for this “How to Draw a Model” lesson is the Crimson Aubergine 599 from the Luminance 6901 Swiss by Caran d’Ache range. It has rich dark red color, which is well suited for life drawing. There are other red and brown pencils available by the same brand that you may find suitable for this task, as well.
It is important to keep your pencil well sharpened at all times to achieve good results in tonal blending. Working with a blunt pencil might be acceptable in quick gesture sketches, but not for the artwork we are working on.
The model is lit by multiple sources of light that make the figure more interesting in a tonal perspective. The main source of light comes from the top-left corner.
Understanding the direction of light helps you analyze and compare tonal values of various areas. You can see that the top half of the model’s figure is lit more than her lower half.
It might be a challenging task for a beginner to distinguish the differences between tones, especially if said compared areas are not close to each other. That is where knowledge comes in handy. When you know the rules of light and shade, it is easier to see those differences on the model and therefore, it is easier to portray tones correctly. If you know where to look, you are more likely to find what you are looking for.
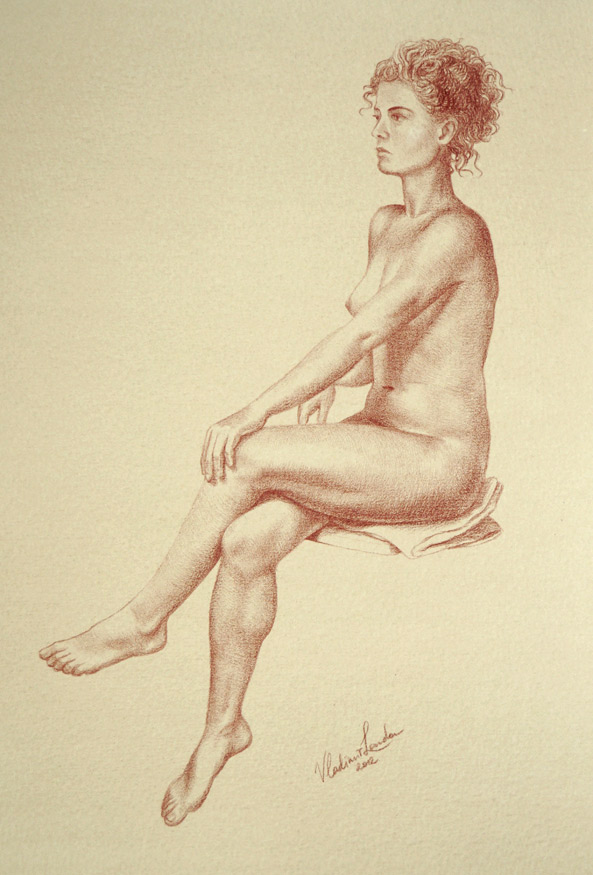
How to Draw a Model with Light and Shade
The rules of light and shade are quite simple.
The parts of the model’s body that are further away from the source of light are lit less than the parts that are closer to the light.
For example, the model’s head and shoulders are lit much brighter than her legs. The brightness is in reverse proportion to the square of the distance from the light source. So, if the model’s legs are twice further away from the lamp than her head, the head would be lit four times brighter than her legs. However, we have multiple light sources, as well as, light bouncing off of other objects – like the floor and the walls. This affects our mathematical formula.
You also need to know that light areas look darker the further away they are from the viewer. For example, I rendered the model’s right shoulder slightly darker than it really is intentionally to make it look further away.
Also, dark areas look lighter the further away they are from the viewer.
That is why objects located further away from the viewer appear with less contrast between light and shade.
How to Draw a Model – Talent vs Practice
When it comes to the question of How to Draw a Model it is a common belief that art students need to have a special talent to be able to draw. I want to challenge this idea. Every man is born with a talent; however, later on, his social environment may persuade him that he isn’t capable to draw.
Young children do not question themselves as to whether they can or cannot draw. They just draw. They never ask the question: “Is my drawing correct?” They know it is. They draw because they want to express their thoughts and fantasies in a visible form. So, what happens down the road? Why, at a certain age, might a child stop drawing, often for a lifetime?
Do you remember your drawings before starting school? They were brilliant! What happened as you got older? Why do contemporary schools suddenly make you think you are no longer good enough to make beautiful drawings? How encouraging were your school teachers and your parents?
I truly believe everyone has a talent for art. However, some of us will take it further by actually learning drawing skills and practising. No one will be able to stop your creative progress unless you believe that drawing is not for you.
When you do one or two drawings and your art teacher is not satisfied with your results, that should be no reason for you to quit. I’ll give one example. At a very early age you were learning to speak, you didn’t quit because developing your language skills was taking too long. No, you grew your vocabulary for years; you didn’t stop after learning 10 or 20 words. So why do many people assume that developing drawing skills is any different and that you have to be born with the talent to draw? Everyone can develop drawing skills, as long as they understand that proficiency will come with time and practice.


Comments are closed.