Drawing a Hand – Depicting hand gestures
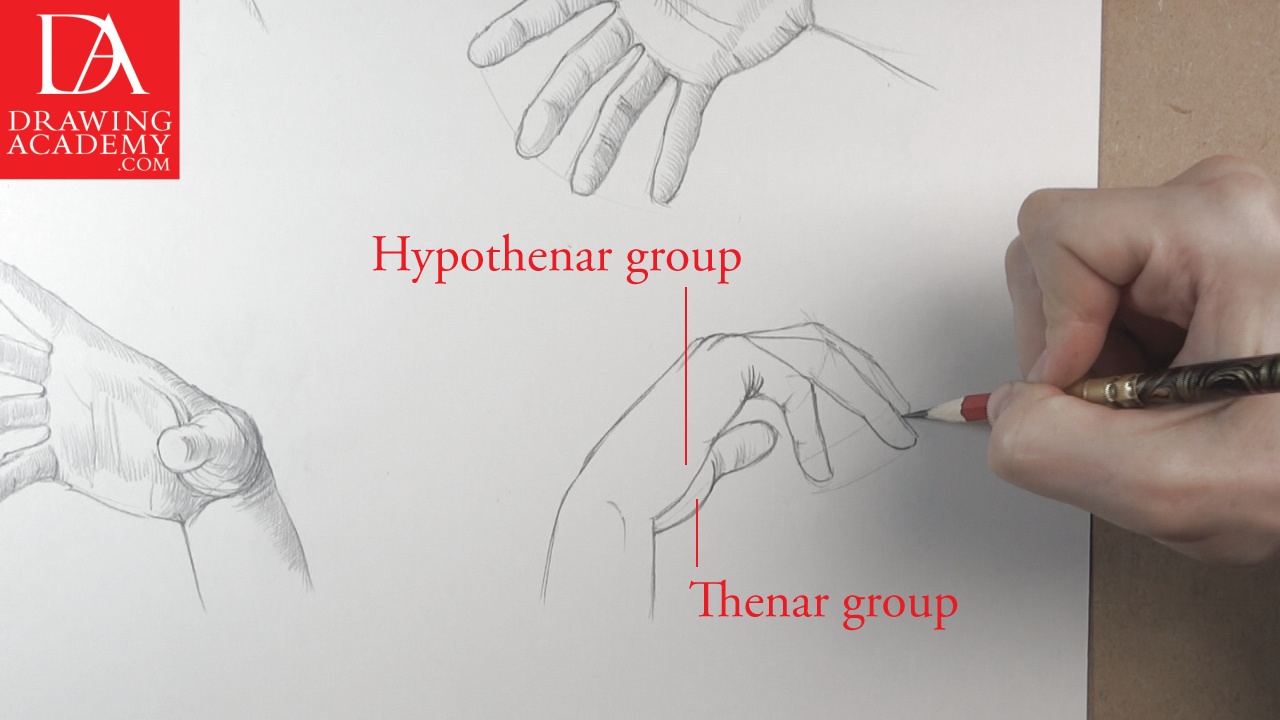
In this “Drawing a Hand” video lesson, you will discover how to draw hands in various gestures and points of view.
Enroll in the Drawing Academy Course
Pay once - Enjoy forever!
Only $297
Drawing a Hand
The purpose of this ‘Drawing a Hand‘ exercise is to train your drawing skills when it comes to drawing a hand. Depicting hands is one of the most challenging tasks beginners face when drawing people.

I start sketching hands with straight lines, which indicate the outlines of the fingers and hand. At this step, I am more focused on the hand’s proportions and gesture than on the curvature of the outlines or individual features of fingers.
Outlines are done in fast and light pencil strokes when drawing a hand sketch.
When the main outline of the hand is marked on the paper, we can concentrate on the shapes of fingers and the hand.
Drawing a Hand – Hand’s proportions
When drawing a hand, keep in mind that the length of the index finger is usually equal to the length of the fourth finger. The fingertips of the index and fourth fingers reach the base of the nail of the middle finger.

The width of the wrist is equal to the width of the index, third and forth fingers together, depict this proportion when drawing a hand.
When the thumb is adducted, it forms the triangular shape between the thumb and the hand-block. The length of the little finger is up to the DIP (or distal inter-phalangeal) joint of the forth finger. When a fine artist is drawing a hand, he or she must remember that straight fingers have a clearly visible excess of skin at their PIP (or proximal inter-phalangeal) joints. These excess skin creases have oval shapes.
On the dorsal side of the fingers, at the PIP joints, there are multiple creases, however, there is less excess skin on these joints.
The dorsal view on the straight fingers often presents the appearance of tendons under the hand’s skin.
There are also four tendons, which are part of the forearm muscle, called extensor digitorium. This muscle is responsible for the extension of the hand at the wrist joint. Four tendons separate near the wrist and insert into each of the four fingers.
Students often have challenges when it comes to drawing a hand with foreshortened in perspective fingers. The challenge here is to portray the volume of a finger so it doesn’t appear smaller than it actually is. In this video part you will see how to overcome such difficult task.
Drawing a Hand – Depicting a Rhythm of Fingers
When drawing a hand, you should remember that the rhythm of the fingers includes the rhythm of its creases. Every phalanx has a different length, which results in different positions of the finger joints and knuckles, as well as, different positions of distal digital creases and middle digital creases.
Naturally, fingers are not sticking out in any random direction or being flexed and abducted unsystematically. Instead, there is a system or rhythm, which forms certain patterns. These patterns very much depend on the skeletal structure of the hand, as well as, hand’s muscles. This knowledge can be applied when drawing a hand.
For example, when drawing a hand, observe how a relaxed hand tends to have slightly bent fingers. Another example is when one finger moves in a certain direction, and physically, the neighbouring finger or fingers will tend to follow this movement in the same direction, albeit, lagging behind.
When drawing a hand, keep in mind that the rhythm of distances between fingers and their parts becomes very apparent when drawing hand gestures. Check out how we can use curved arches to define the positions of the fingertips, DIP (or distal inter-phalangeal) joints, PIP (or proximal inter-phalangeal) joints, and MCP (or metacarpo-phalangeal) joints.
Also, please note when drawing a hand, how the distal phalanges appear to be curved forward and upward, while the thumb’s curve seems to point in an opposite direction.
Another rhythm you need to observe and depict while drawing a hand is the sequence of distances between the fingers. In this example, the distance between the index and third fingertips is bigger than between the third and forth fingertips, which in turn is bigger that between the forth and little finger fingertips.
Practicing drawing a hand and hand gesture sketches is a great way to improve your skills in hand drawing. Study the hand gestures in a multitude of gestures by making numerous sketches. This way, you will get confidence and experience drawing hands.


