Questions from Saninny, Drawing Academy student
I recently obtained access to life model sessions and although I am currently not far in the Drawing Academy, I decided to proceed forward and take advantage of the opportunity to draw life figures.
I would like your opinion on how to improve my gesture drawings so that I can depict a long pose more effectively.
I realize individuals differ on how they believe a gesture drawing should be accomplished (for example, some believe in the usage of scribbly free movements, spare lines that capture main direction only, et cetera), but I welcome your suggestions and advice.
Hello Saninny,
Many thanks for your questions.
You may find the following article (the second half) about how to approach life drawing sessions to be interesting:
//drawingacademy.com/gamut-of-pencil-strokes
In response to your question about gesture sketches, mindless scribbling is the least useful approach one can employ.
When used by a professional artist, it might resemble a “free-flowing” and an almost “auto-magical” gesture sketching. However, it is not achieved by “accident,” but is a result of lengthy and in-depth studies of human proportions, body dynamics, and anatomy. Virtuosity in handling drawing tools and understanding principles of beauty and golden proportions (achieved by extensive practice) is also required.
Next time you hear advice to a beginner on drawing with “closed eyes and an absent mind,” remember that it is from an amateur instructor. This is not a proper method to achieving excellent results when learning to draw.
Instead, you need to draw what you know, not capture your observations in quick movements.
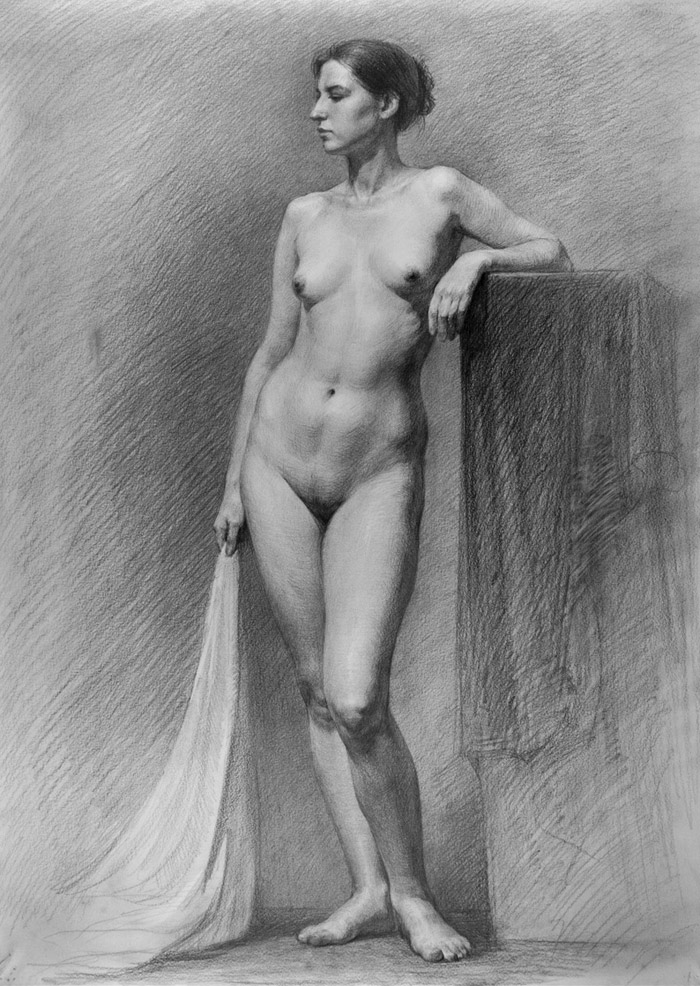
Copying what you see will inevitably result in drawing mistakes. Under a time pressure of quick 2-5 minute poses, mistakes will only become exaggerated. You may notice this on your own example. Your 45 minute figurative artwork achieved better results than your quick sketches.
You will get finer results when drawing what you know about the model’s body.
For example, knowing human body proportions will help you to establish correct sizes for various body parts.
Knowing that the pubic bone divides a human figure in half, you must be sure your sketch reflects this fact. Use to your advantage that the elbow coincides with the end of the ribcage. The length of the hand from the wrist-line to the tip of the middle finger is equal to the face height. There are many more rules of a human body proportions. Drawing with this in mind, you will depict a proportionate looking figures.
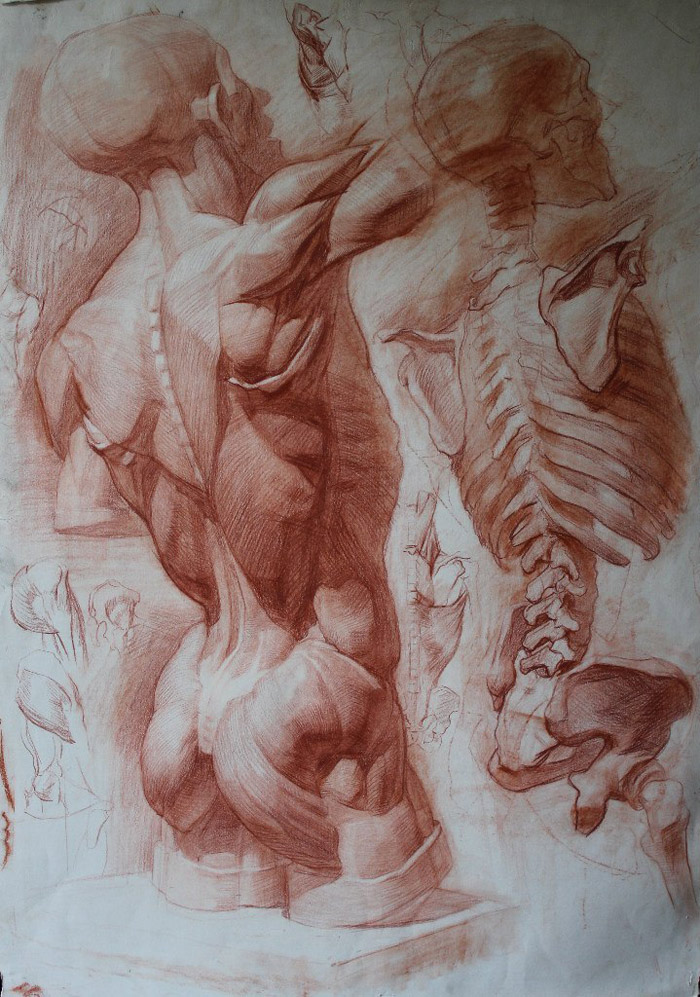
The same goes for knowledge of the human anatomy. For instance, without understanding how the knee joint is constructed, you will become very confused by surface shapes in the knee region and have a small chance of depicting the legs in a realistic manner. Needless to say, other parts of a human body are not easy to depict without anatomy awareness.
Even when making a drawing, you need to plan your artwork from a composition point of view. Think about how much space the figure will occupy on your paper to properly address spatial concerns regarding body parts. Such planning might take only a couple of seconds, or maybe you need to spend a few minutes for preliminary outlines, to define your future drawing.
It depends on your creative task whether you must draw a full-length figure, a portrait, or some elements of a body such as hands and feet. Depending on what you are learning at the moment, you can concentrate on a chosen topic (for instance, you may decide on depicting a full figure or a cropped image).
To get the most desirable results from your life-drawing sessions, I advise you to do the following:
The homework:
1. For a second time, review the Drawing Academy video lessons regarding human body proportions and memorize the main points.
I also suggest you read articles on this subject and utilizing those proportions, make sketches from your imagination in your sketchbook. This will allow you to better remember proportion rules during a life drawing class.
2. Learn human anatomy including major bones and muscles.
You do not have to memorize their Latin names; however, you need to have a thorough understanding of what forms the body shape Helpful tutorials on human anatomy are found in the Drawing Academy course.
In the class:
3. Use the knowledge about the proportions and the anatomy of the human body in class.
Imagine that you have the ability to see bones and muscles under the skin. Instead of drawing what you see, be sure to draw what you know. You may actually draw a spine-line or a ribcage outline, pelvis, skull, et cetera in your drawing. You can depict it as an overlay or next to the figure. With time, you will develop an ability to draw anatomy in your head and construct the body shape on paper.
4. Set meaningful tasks and work to solve them.
It might be that your task is to practice depicting body proportions to achieve the construction of the shoulder girdle, or perhaps to convey how the axes of the pelvis and shoulders are positioned in contrapposto. Always have a task and avoid insufficient scribbling of the pose.
5. Drawing occurs in your head and not on the paper.
During a session, continually run a “questions and answers” self-dialogue in your mind. Ask yourself questions such as “Where will the outer edges of my figure be located?”, “What is the height to width ratio?”, “How many times will a body part fit into another part?”, and “How will the virtual line that travels through these two points intersect other body parts?” Other excellent questions to ask include “Where is the body’s center of gravity?” and “Where is it projected on the floor?”

6. Do not strive to complete short sketches by drawing in a speedy manner.
It is more useful to draw slowly, but thoughtfully. With time and practice, your drawing speed will increase as a result of knowledge and confidence.
7. Do not start shading if you are not fully satisfied with the construction of your drawing.
It is similar to the decorating walls of a poorly built house in false hope that it will improve construction. If you have time, find and fix mistakes first or avoid such mistakes in a future artwork if time is limited.

I hope these suggestions will aide you in the future.
Let me know if you have any questions as I will be happy to help.
Best regards,
Vladimir
Thank you so much for this advice on how to approach the figure drawing sessions. I really appreciate the care you take in helping the students in the Drawing Academy and I will take your advice starting this week. I know I am jumping the gun, with figure drawing being so new to the program, but as mentioned, the opportunity came to draw a life model and I did not want to miss it.
Thank you.


