Discover How to Draw Hair
How to Draw Hair – Portraying William Shakespeare
Enroll in the Drawing Academy Course
Pay once - Enjoy forever!
Only $297
How to Draw Hair – Traditional Approach
When you think how to draw hair, keep in mind that depicting a complicated structure of the model’s hair can be quite a laborious task. A beginner can be overwhelmed with such intricacy of curls and details. It is also very easy to get lost in such a great variety of tonal values.
To simplify this process of how to draw hair, think about the hairstyle not as a bunch of curls randomly located on the head, but in terms of big unified hair masses, which have common volume and shape. When you have a mental picture of the big shape, then it will be easier to keep the complex collection of individual curls under control.

The way to unify hairstyle masses is by shading them as one common object, revealing the cast shadows and deep shades, the range of mid-tones. This way, the question of how draw hair will be much easier to handle. If you are a beginner, the safer approach will be to render common shades and cast shadows as if no individual curls are present. Later on, you can subdivide the one big hair mass into smaller groups and then into individual curls.
How to Draw Hair by rendering shades
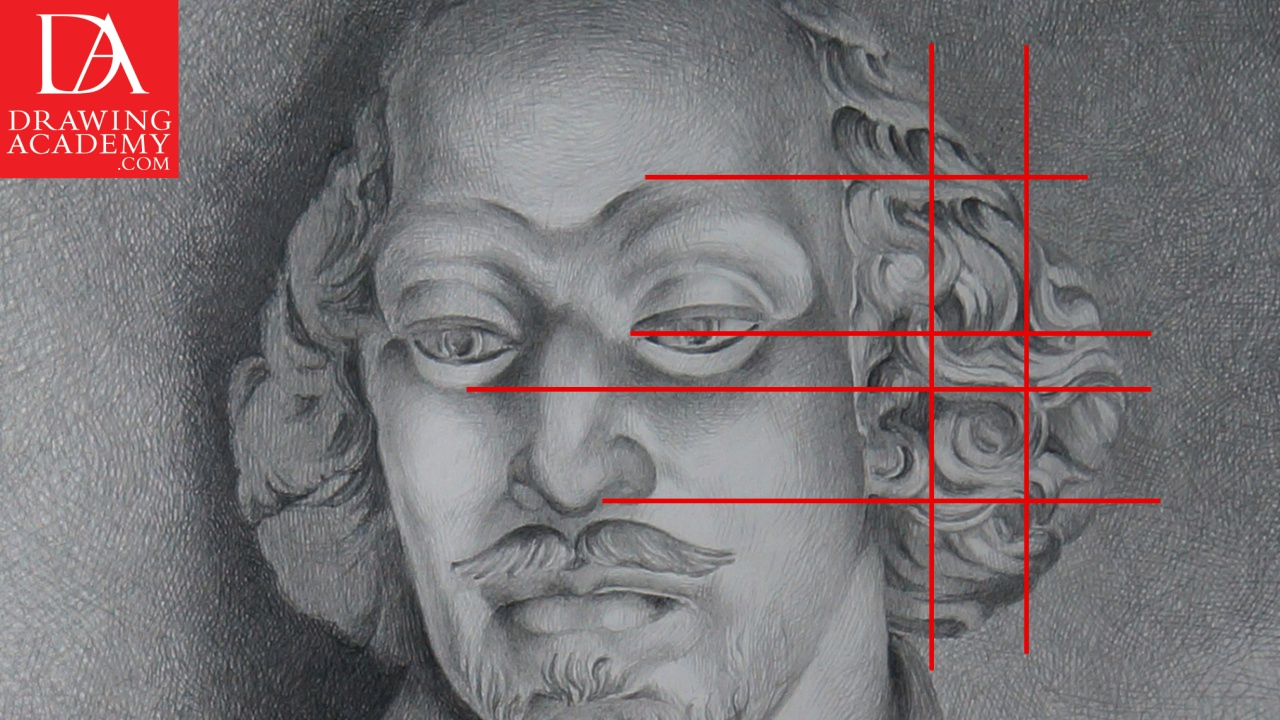
When it comes to a question of How to Draw Hair, the illusion of a three-dimensional look of this marble head is depicted by means of rendering tonal gradations of this portrait.
We started rendering hair in HB graphite pencil – applying very little pressure on the pencil. The sequence of hair shading was progressing from dark areas to lighter ones. The objective of the initial shading was to decide on the light and dark parts of the drawing. All shades were depicted in relation to each other. I was constantly comparing the tonal values to keep the correct tonal balance. As a rough separation between light and shade, three main values were focused on: the light, mid-tones and shadows. Cast shadows are an important part of this portrait. We paid attention to accents, which are the darkest spots on this artwork.
The progression of shading was going from big common masses to smaller details. The main tonal values were sub-divided into tonal steps. For example, the light was divided onto the highlight, light and the local light. The mid-tones were divided into light halftones, middle halftone and dark halftones. Last, shadows were divided into form shadow, core shadow and dark shadow including accent of the cast shadow. These tonal values have no well-defined boundaries between each other, as one tone seamlessly goes into another.


