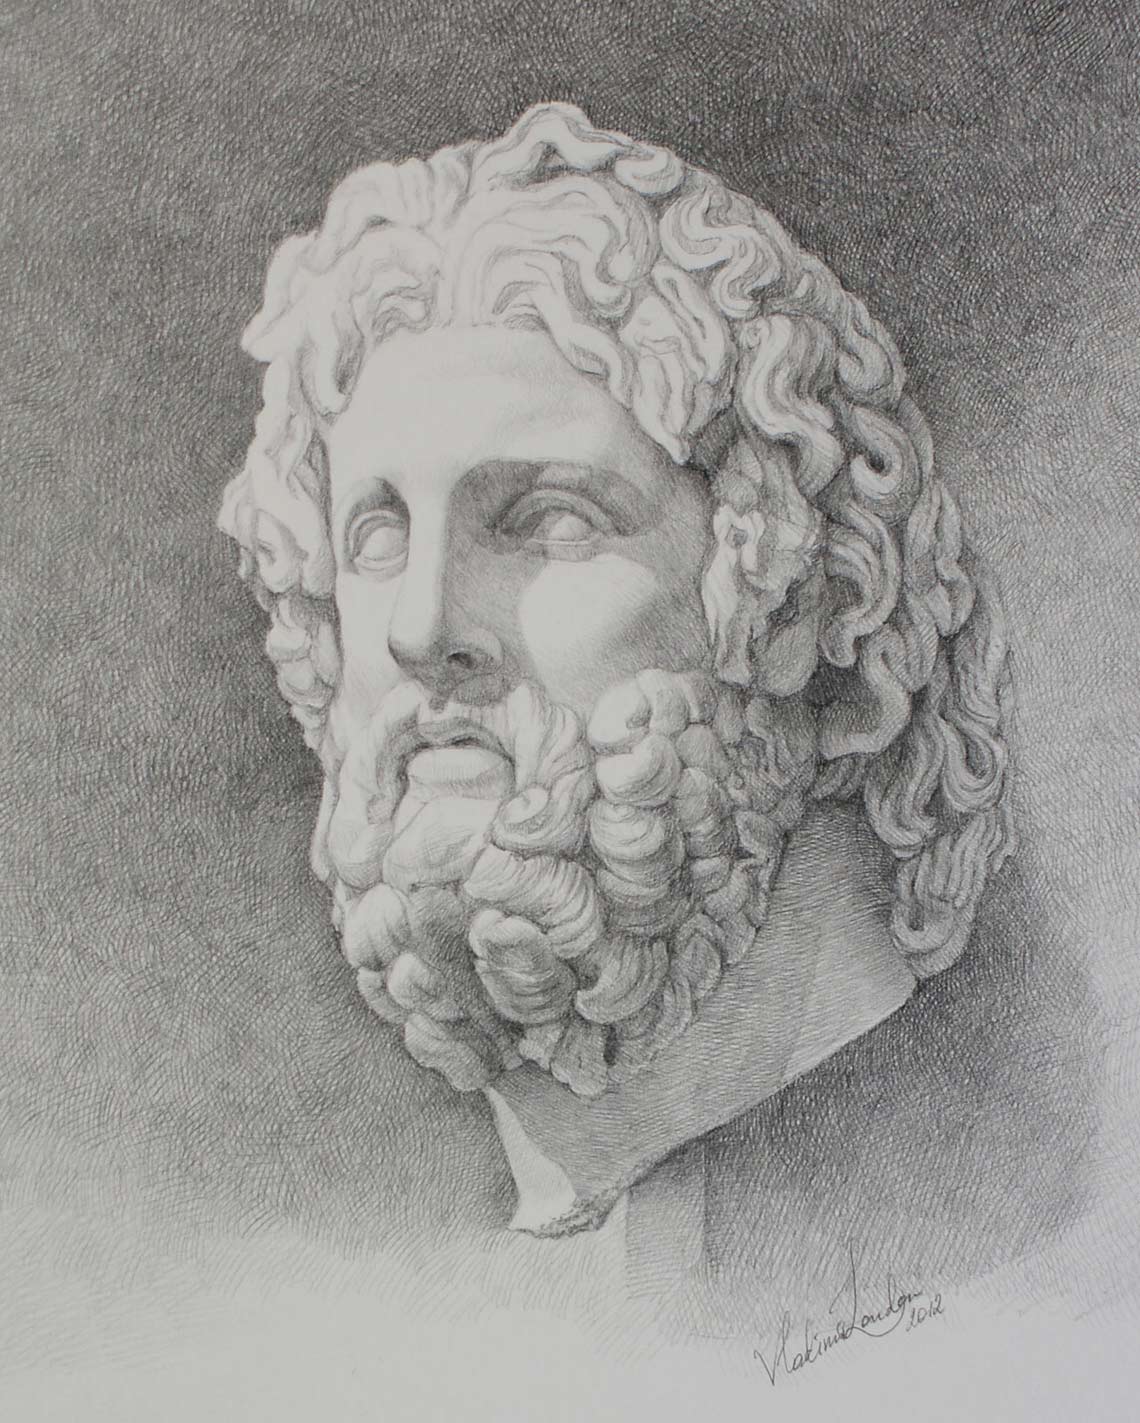
Drawing a Head – Asklepios portrait in graphite pencil
In this video lesson, you will discover all you need to know about Drawing a Head. Many students have trouble when it comes to drawing a head of a man with facial hair – like a bushy beard. In this portrait drawing, I will help you to solve this challenge.
Enroll in the Drawing Academy Course
Pay once - Enjoy forever!
Only $297
Drawing a Head – Classical proportions
In this video part you will see the classical approach approach of drawing a head, which is used by many generations of fine artists and has roots back to the Old Masters time.

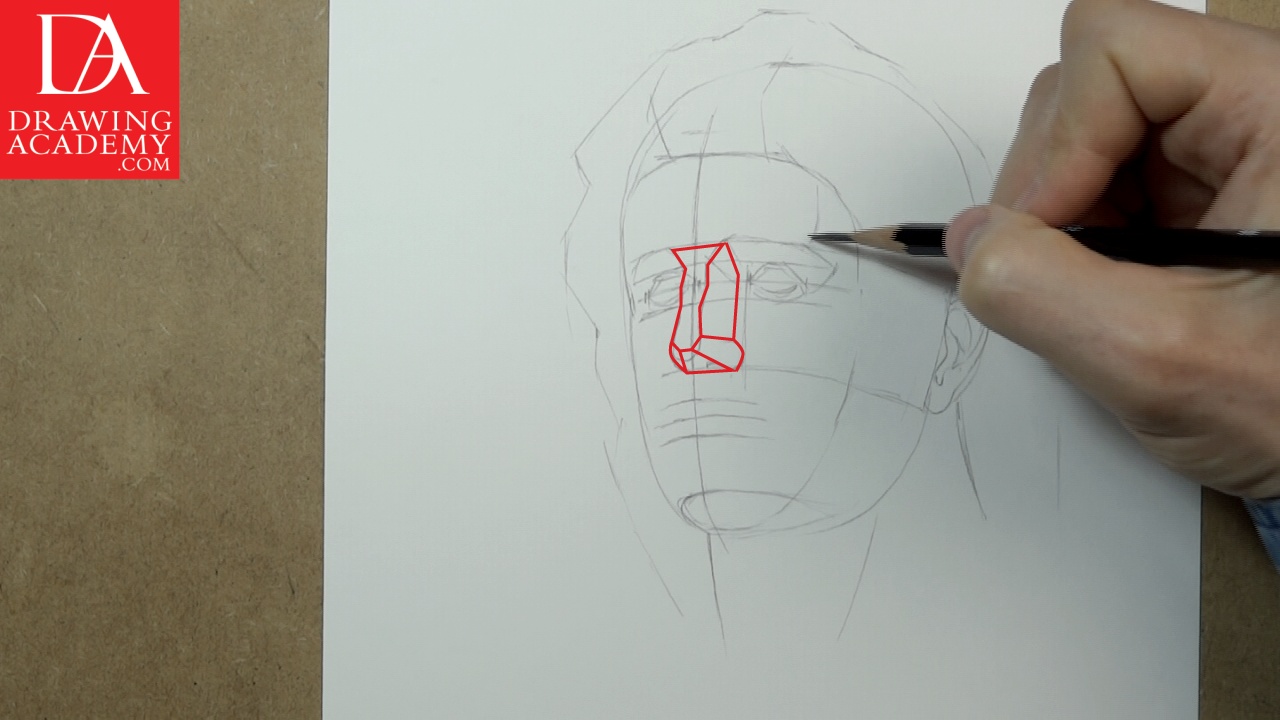
We begin this drawing a head lesson with linear drawing with the central line of the head. This is a virtual line that goes from the middle-top of the forehead, through the nose and the middle of the chin. We have such a point of view when the head is turned three-quarters to the left hand side.
At this step of drawing a head, I am visualizing the overall proportions of the intended drawing and make a decision on how big the head will be in our drawing. I also consider the lead or nose room in front of the face.
The drawing a head process will go from the general main masses to smaller details. This way, the fine artist can control the precision and likeness of the portrait.
When drawing a head, keep in mind that the eye-line divides the head into two equal parts – from the top of the head to the bottom.
I extend virtual lines that go through the eyebrows and the base of the nose to the right side, where the ear is. These two lines are curving down because of our low viewpoint. These lines are parallel to each other; however, as we see this head in perspective, lines are converging toward the vanishing point that lies lower to the right hand side.
When drawing a head, I am also making sure the main proportions of the portrait are correct. The distances between the hair root line and the eyebrows, between the eyebrow line and the base of the nose, and between the base of the nose and the under-plane of the chin are equal to each other.

Despite the marble head model’s bushy beard, for now I am drawing a head with the lower jaw and chin as if it is perfectly shaved. This is one of the main rules of classical drawing; proficient fine artists draw not what they see, but what they know. To make the head geometry right and therefore, the drawing look believable, it is not enough to copy what is visible. Such an amateurish approach will inevitably lead to mistakes in the drawing. Instead, when drawing a head, you need to see through the model and understand what the anatomy of the head is, in order to make a good portrait.
When the main proportions of the head are placed on the paper, we can establish the hair mass around the head and the beard contours, as well. I estimate the thickness of the hair masses and double-check the dimensions and proportions on the model.
Considering of drawing a head, think about the hair as a three-dimensional mass, with its volume and shape. Draw it in straight lines at this step and do not concentrate on details, just depict general masses.
When it comes to drawing eyes, remember this rule: the distance between eyes is equal to the length of the eye.
The Drawing Academy features a dedicated video on the drawing a head subject of how to draw eyes. Please refer to this video to find out more on this topic.
According to classical face proportions, the distance between the eyes is equal to the width of the nose wings. When you draw a nose, think of the geometrical shape that inscribes it – the prism. Visualize this prism’s three-dimensional shape and position on the face, think how it is attached to the face and what proportions it has; also, consider the rules of the linear perspective for that purpose.
At this initial step of the drawing a head constructive linear sketch, the head surfaces can be subdivided into planes. This process will simplify the head construction and help us to establish the correct volumes of the head masses and slopes of its surfaces.
The upper lip of the mouth has a contour that resembles the character, “M”, shape, while the lower lip is similar to the “W” shape or “M” upside-down. The mouth is seen from the three-quarter view as further sides of the upper and lower mouth are foreshortened. This is due to the curvature of the “mouth barrel” – explained in another video lesson of the Drawing Academy. In the “How to Draw a Face” video lesson, I have described in detail the topic of how to draw a mouth. Please refer to this Drawing Academy video for more tips and information on the subject of drawing a head.


