Portrait in progress critique
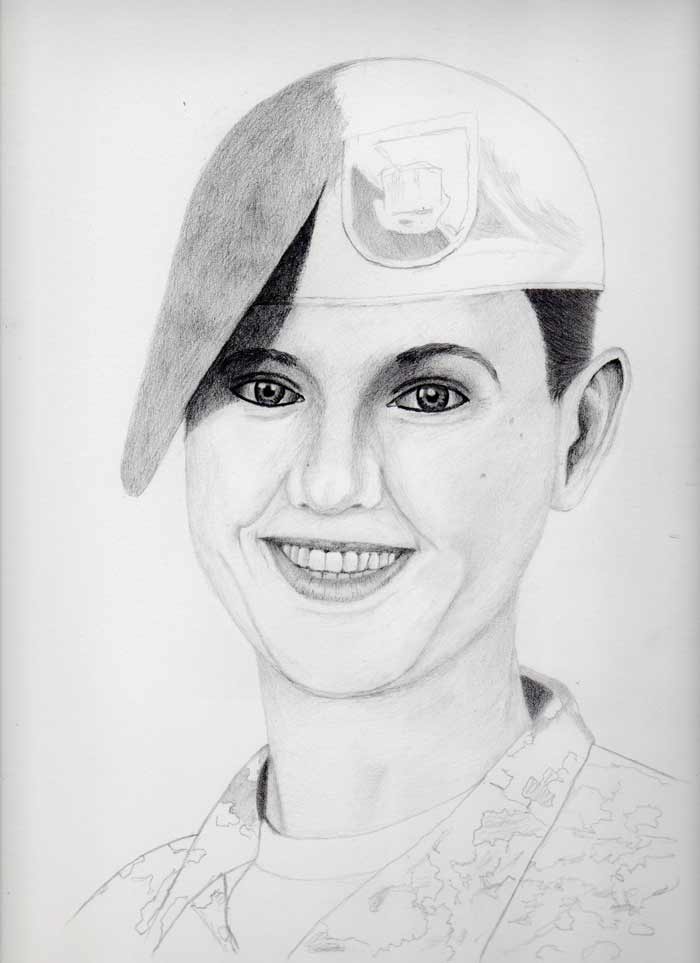
Drawing by Ray Habyan, Drawing Academy student
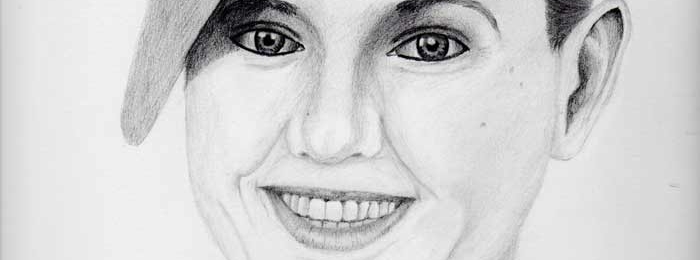
I have started working on this portrait from a photograph.
This portrait was laid out exclusively using known proportions instead of plotting from the photo.
I think the drawing will look darker once I add the background, so I am not going to darken anything at this point.
Please Critique.
Many thanks,
Ray
Hi Ray,
Thank you very much for your drawing. I really like your work in progress.
I’m also very glad that you are using your knowledge of human anatomy and constructive drawing principles to make this piece.
Overall, the portrait is very good; however, there are a few points you may want to consider:
Constructive Drawing:
You know that the horizontal axes of the eyebrows, the eyes, the base of the nose, and the mouth are parallel to each other. On the drawing, however, all these lines go in different directions. I have marked in red the points that the lines go through.
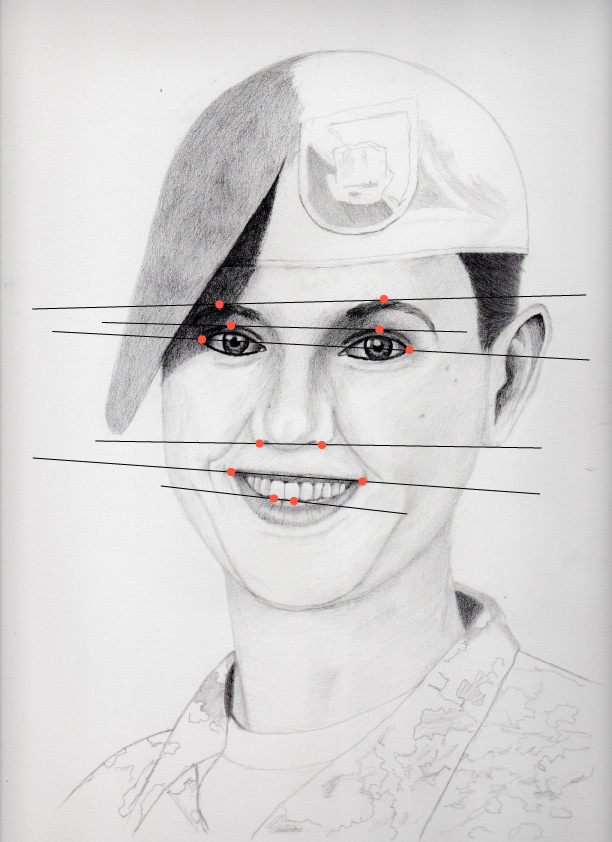
To the untrained eye, these diversions and convergences are not really noticeable (unless you draw actual lines), yet together, they make the face a bit sheared.
To avoid such mistakes, you need to spend more time on constructive drawing and use helping lines, such as the vertical line of the face and the horizontal axes as described above.
I’m sure you originally created such lines and later erased them. Nevertheless, you can leave very faint lines of axes in your drawing to help later on in shading. Rendering will cover such lines and they will eventually disappear; if not, you can always erase them later. Before they are gone, though, they will help you with the correct placement of facial features.
These are not the only virtual lines that you need to draw to make your portrait constructively and anatomically correct. Please check the Drawing Academy video lessons on how to draw portraits for more details on constructive drawing of the human head.
Facial Anatomy:
I understand that you are working from a photo, and sometimes photos may give somewhat wrong proportions. Photo-perspective can be misleading, and the illusion of some features being in the wrong place or the wrong shape is common.
This is where drawing what you know rather than what you see becomes very important.
For example, an ear can be depicted more realistically when you know its anatomy. In your drawing, the ear should be fixed, as it is not anatomically convincing at present.
You may find the video lesson about the anatomy of the ear in the Drawing Academy course helpful.
Something else you should double-check is the nose. The root of the nose and the base of the nose, including nose wings, can be improved in your drawing by following the anatomical principles described above.
I would also advise you to watch the video lessons on how to draw eyes again. In your drawing, the curvature of the eyelids is very symmetrical, while in real life the upper and lower eyelids are not mirror images of each other.
Tonal Rendering:
I know it is tempting to start shading, even though you might subconsciously think that linear drawing is not ideal.
Do not be tempted to render shades in the hope that it will help to correct constructive drawing problems. It doesn’t work that way. It is like painting walls that were not built straight and thinking that it will fix the underlying problem.
If you see mistakes, it is better to fix them before tonal values are in place. Although you might find it challenging to erase pencil marks and begin work on constructive drawing again, it is essential for masterful art.
Also, it is good professional practice to develop rendering gradually, like developing a photograph little by little. You want to start from the darkest spots and move towards the lighter ones. Some areas are over-rendered compared to others. Work on the entire drawing all at once, without trying to finish one particular part first. At any given point in the process, your drawing should look complete.
Make pencil strokes along the contours of the object. Do not be afraid of leaving distinct and separate pencil marks. With time, you will develop your individual pencil hatching style that will become your recognizable “signature.”
Once again, thank you for sharing your work. I like your drawing, your attention to detail, and above all, your passion and drive to make your drawings perfect.
Best regards,
Vladimir
- Receive 15 new videos monthly (45 in total)
- Incredible discount – $4,164
- Bonuses - Fine Art eBooks and Videos
- Drawing Academy Diploma of Excellence after course completion in 3 months
- Personal coaching by Drawing Academy Tutors
- Lifetime membership. Free after the 3rd month

- Immediate access to all 45 video lessons
- Incredible discount – $4,198
- Bonuses - Fine Art eBooks and Videos
- Drawing Academy Diploma of Excellence after course completion in 3 months
- Personal coaching by Drawing Academy Tutors
- Lifetime membership. No more payments
You can view the changes made here https://www.facebook.com/USFallenHeroesPortraits . Thanks for the review.