Drawing Architecture – Defining three-dimensional volumes in tonal rendering
Video Lesson Description
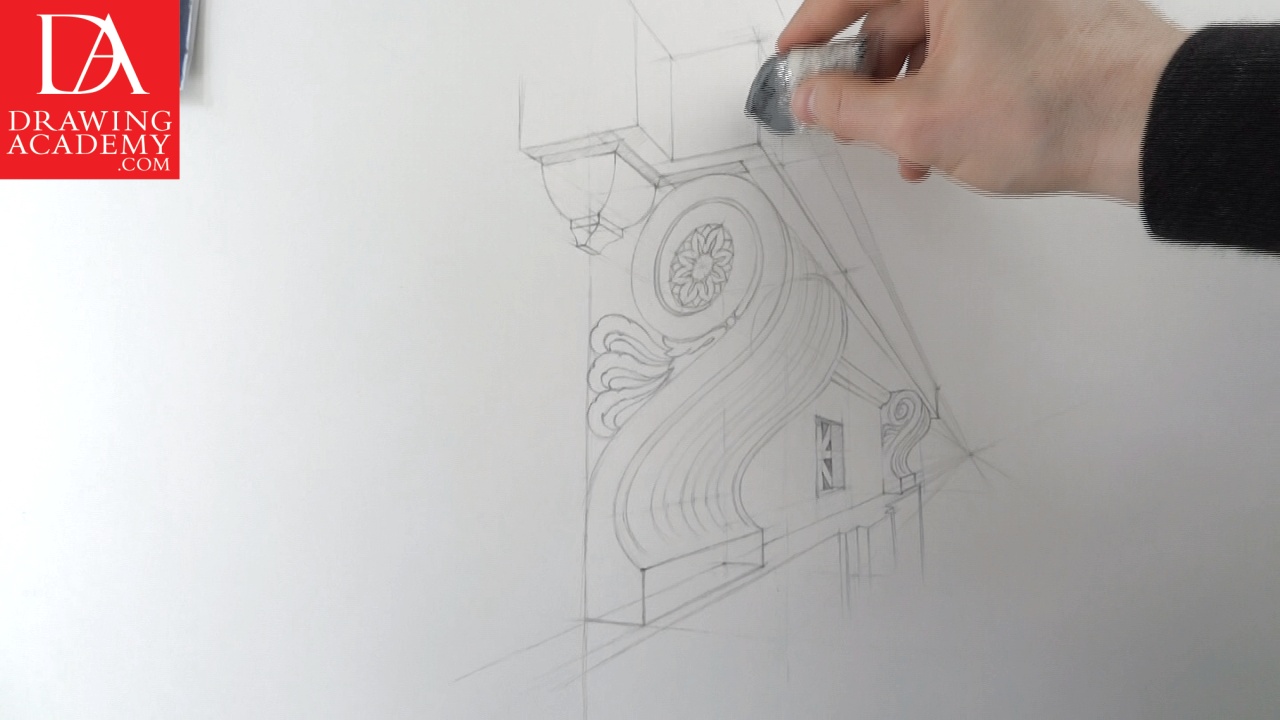
In this video part of the “Drawing Architecture” lesson you will discover how to render shades of architectural forms in graphite pencil.

Continuing Drawing Architecture with shading
When Drawing Architecture, the shading starts with the darkest areas of the artwork, i.e. the under-plane of the window’s board. The main reason for starting with the darkest parts of the drawing is that there is a limit on how deep the shading can be with a graphite pencil. If you, for example, start shading the mid-tone areas first, and then the darker ones, you may have already reached the pencils limits on the mid-tones before you even start the dark shade values. Unfortunately, by that time it might be too late to fix your drawing by erasing the mid-tone shading, as it might ruin the look.
The tonal values are built up gradually in drawing architecture process. You should avoid trying to achieve the full tonal value on the first attempt. Instead, when drawing architecture, work on the drawing’s shading progressively.
Of course, this approach does the job of marking the paper, but the result looks dirty and amateur. However, rubbing a drawing tool might be acceptable for charcoal, crayon stick, or a felt-pen. Nevertheless, a quality graphite pencil is not a felt-pen, and should be used to its full potential. A good graphite drawing consists of good quality pencil strokes. Therefore, every stroke should be applied with care, as if it were an artwork in its own right. Thousands of these strokes will make a great masterpiece.
When drawing architecture, keep in mind that the direction of the strokes depends on a form you are shading. This drawing has well defined geometrical forms, and shading done along these forms would look good.
When you shade with a pencil, for example in parallel strokes while drawing architecture, draw every stroke next to each other with a small gap between. The higher density of strokes gives a darker tone appearance. After completing a stroke, lift the pencil and draw another one in the same manner. Let’s say you are hatching with diagonal strokes in the direction of the top-right, to bottom-left. After the first downward stroke, lift your pencil and start another diagonal stroke in the same downward direction.
The line of each stroke, when drawing architecture, can have a variable thickness and strength. You may start the stroke with a bit more pressure than you finish the stroke; this will make the stroke stronger and darker in the beginning, and have it fade away at the end. Strokes can be curved or straight; but it depends on the intention of the artist, and the forms being shaded. The length of the strokes depends on many factors, like the size of a particular shape you are working on, the scale of the artwork, or the sharpness of your pencil. Cross-hatching, when drawing architecture, is a great way to deepen the shading values. The same rules are applied to cross-hatching as they are to hatching.
The direction of the hatching strokes will influence the overall appearance of the drawing. When it comes to drawing architecture, you should understand the construction of the form being shaded, and its position in the environment. That is where the preliminary linear study of these architectural elements becomes very handy. Then you just follow the natural lines of the elements – the straight lines of the wall and boards, side plane of the corbel, and the curved forms of the corbel’s scroll and the moulding.
When drawing architecture, observe the difference between the tonal values of various elements, and constantly compare these values with each other. Gradually build up the values of the drawing while working on various areas simultaneously. Avoid finishing one particular area of the drawing before touching any other areas you intend to shade.
Some art teachers advocate a 5-pencil approach. That means starting a drawing with a 2H and finishing it in a 3B pencil. While this approach has certain logic, there are two things that you, as an art student, should try to avoid: relying on drawing tools rather than on your skills, and an unclean appearance of your drawing. I will give an example here. When you drive a car and want to change speed, you do not change your engine; instead, you apply more pressure to the accelerator pedal. The same goes for drawing with a pencil. When you want to darken your shading, make several layers of hatching while increasing the pressure on the pencil. The skills of how you are using a pencil are far more valuable and important than how many pencils you have in your drawer. Apart from that, a multitude of pencil grades used in one drawing will give it an unprofessional appearance.
Cross-hatching is a good way to depict the texture of the carved stone when drawing architecture. Keep gaps between strokes, even in the darkest areas, so that the shading looks a bit rough.
Linear perspective also applies to the shading in drawing architecture process. Objects in the foreground are rendered in graphite, with more attention and dedication to the smaller details. Also, you may see that lines and hatching strokes are more pronounced in the foreground. The further away the objects are the lighter and thinner the lines become, when outlining and shading.
As the purpose of this lesson was the construction of linear drawing in two-point perspective, the shading is a secondary part of the exercise. We will leave the shading rendering a bit unfinished, to keep the artwork fresh.
Great art starts with a great drawing and great drawing comes with the practice.
- Receive 15 new videos monthly (45 in total)
- Incredible discount – $4,164
- Bonuses - Fine Art eBooks and Videos
- Drawing Academy Diploma of Excellence after course completion in 3 months
- Personal coaching by Drawing Academy Tutors
- Lifetime membership. Free after the 3rd month

- Immediate access to all 45 video lessons
- Incredible discount – $4,198
- Bonuses - Fine Art eBooks and Videos
- Drawing Academy Diploma of Excellence after course completion in 3 months
- Personal coaching by Drawing Academy Tutors
- Lifetime membership. No more payments